Pin it
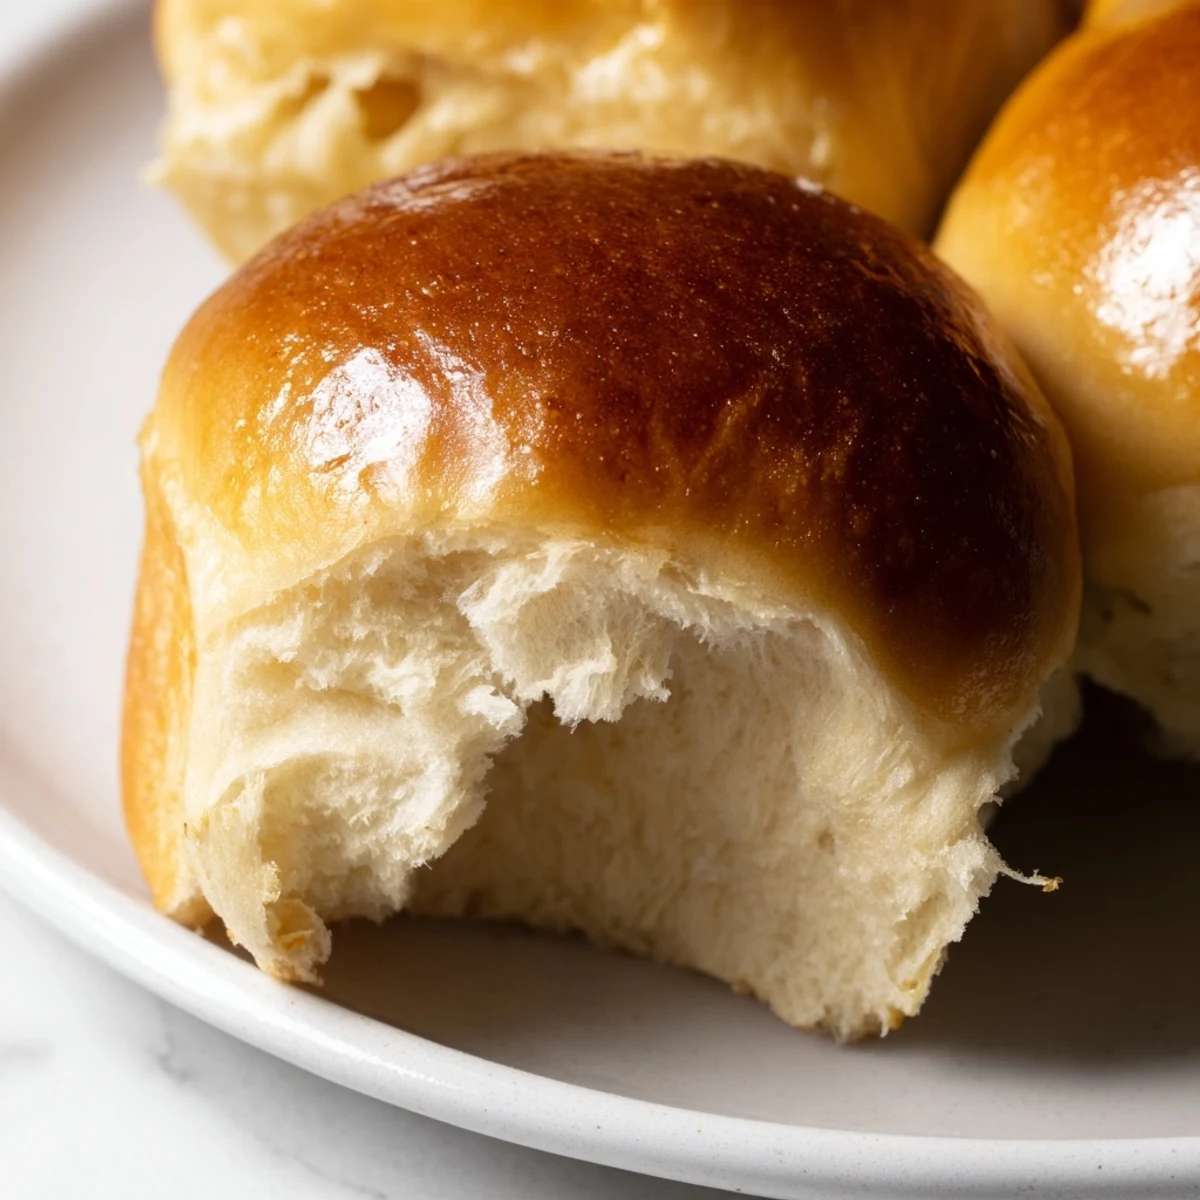
 These tender brioche rolls combine flour, eggs, and generous amounts of butter for that signature French texture. The dough develops through a two-step rise process, creating pillowy interiors and golden, glossy tops. Each batch yields twelve perfectly portioned rounds that work beautifully for breakfast with jam or alongside hearty dinner dishes.
The method involves incorporating softened butter gradually into the dough, then allowing ample rising time for optimal fluffiness. A simple egg wash creates that bakery-style shine while baking to golden perfection.
The kitchen was quiet that rainy Sunday morning when I first attempted brioche, expecting dense bread but instead pulling these golden clouds from the oven. My roommate wandered in, drawn by the impossible buttery aroma, and we stood there eating warm rolls with melting butter dripping down our wrists, not bothering with plates.
I made these for my mothers birthday brunch last spring, watching skeptics turn into devotees after one bite. My brother, who claims to dislike fancy breads, ate three rolls plain, then asked to take some home for the next day.
Ingredients
- All-purpose flour: Bread flour works too, but I love the tender crumb regular flour gives these rolls
- Instant dry yeast: No need to proof it separately, which means one less step to forget about
- Unsalted butter: Softening it to room temperature is nonnegotiable, otherwise it will never incorporate properly into the dough
- Eggs: Bring them to room temperature too, or they will shock the cold milk and create tiny lumps that never smooth out
- Whole milk: Lukewarm means barely warm to the touch, hot enough to activate yeast but not kill it
Instructions
- Mix the dry foundation:
- Combine flour, sugar, yeast, and salt in your stand mixer bowl, giving it a quick whirl to distribute everything evenly
- Bring the dough together:
- Add the eggs and lukewarm milk, mixing on low until you have a rough, shaggy dough that looks like it has failed
- Incorporate the butter slowly:
- With mixer on medium, drop in butter cubes one at a time, waiting until each disappears before adding the next, then knead for 8 to 10 minutes until the dough transforms from sticky to satiny smooth
- Let it rise:
- Transfer to a lightly greased bowl, cover with plastic, and find the warmest corner of your kitchen for 1 to 1.5 hours until it has doubled in size
- Shape the rolls:
- Punch down gently, divide into 12 equal pieces, and tuck the edges under each piece to form smooth, tight balls
- Second rise:
- Arrange in your greased pan, cover again, and let them puff up for another 45 to 60 minutes until they look pillowy and pressing one leaves a small indentation
- Preheat and brush:
- Heat your oven to 350°F while whisking the egg wash, then gently brush the tops without deflating them
- Bake to golden:
- Bake for 18 to 22 minutes until they are deeply golden on top and sound hollow when tapped on the bottom
 Pin it
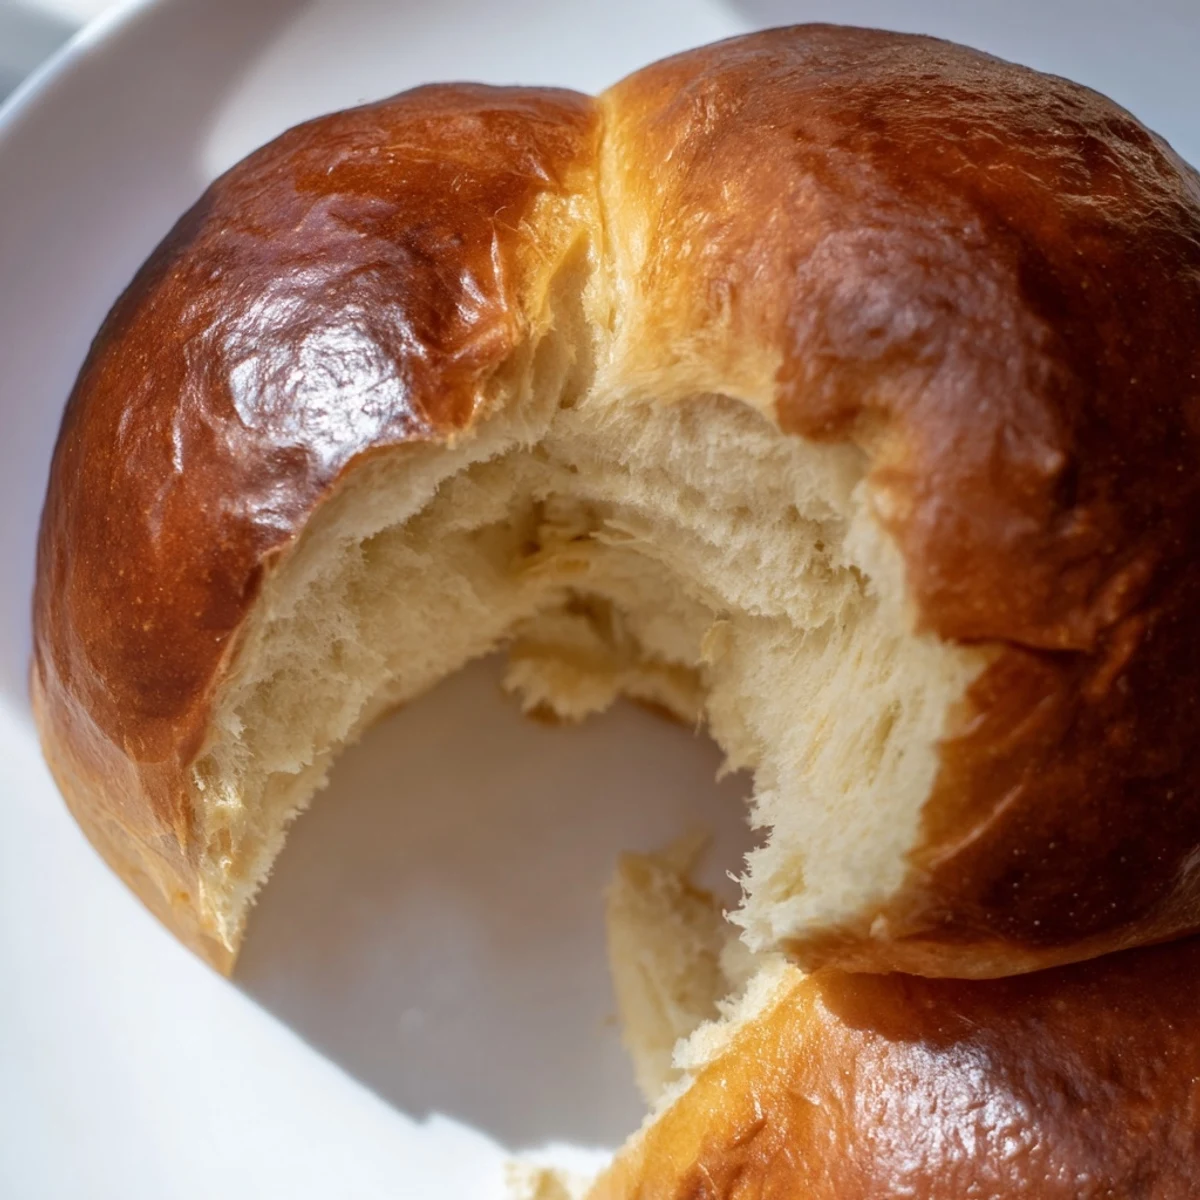
 These rolls became our Christmas morning tradition after that first successful batch, with everyone fighting over the corner pieces that get the most buttery crust. Now I double the recipe because a dozen is never enough.
Making Ahead
The dough actually benefits from an overnight rest in the refrigerator, which develops flavor and makes shaping easier the next day. Just let it come to room temperature for about an hour before shaping and rising.
Freezing Extra Rolls
Wrap cooled rolls tightly in plastic and then foil, freezing for up to a month. Thaw on the counter for an hour, then refresh in a 350°F oven for 5 minutes to bring back that fresh baked texture.
Serving Suggestions
While these are perfect on their own, they make the most incredible breakfast sandwiches with a little ham and cheese. They also shine as dinner rolls, soaking up gravy or sauce like nothing else.
- Split and toast leftover rolls for an instant breakfast, topped with jam or honey
- Use day old rolls to make the most luxurious bread pudding you have ever tasted
- Brush with garlic butter and broil for 2 minutes for an instant savory side
 Pin it
 There is something deeply satisfying about pulling homemade brioche from the oven, the way they fill the kitchen with warmth and promise. These rolls have a way of turning ordinary meals into celebrations.
Recipe FAQs
- → What makes brioche different from regular bread?
-
Brioche contains a high proportion of butter and eggs, creating a tender, cake-like texture and rich flavor. The fat content produces a soft crumb that stays fresh longer than traditional lean breads.
- → Can I make these without a stand mixer?
-
Yes, though kneading by hand will take longer—approximately 15–20 minutes of vigorous kneading to develop the gluten structure properly. The dough should become smooth and elastic before the first rise.
- → How do I know when the dough has risen enough?
-
The dough is ready when it has doubled in size and a gentle press with your finger leaves an indentation that slowly springs back. This typically takes 1–1.5 hours in a warm, draft-free spot.
- → Why is my brioche dense instead of fluffy?
-
Dense results usually come from under-kneading, insufficient rising time, or adding butter before the gluten has developed. Ensure thorough kneading and allow the dough to complete both rises fully before baking.
- → Can I freeze the finished rolls?
-
Absolutely. Once completely cooled, wrap individually in plastic wrap and place in a freezer bag for up to 3 months. Thaw at room temperature and refresh in a 350°F oven for 5 minutes to restore warmth and texture.
- → What can I serve with brioche rolls?
-
These versatile rolls shine with sweet spreads like jam, honey, or Nutella for breakfast. They also complement savory dishes such as soups, roasted meats, or can be split for sliders and sandwiches.