Pin it
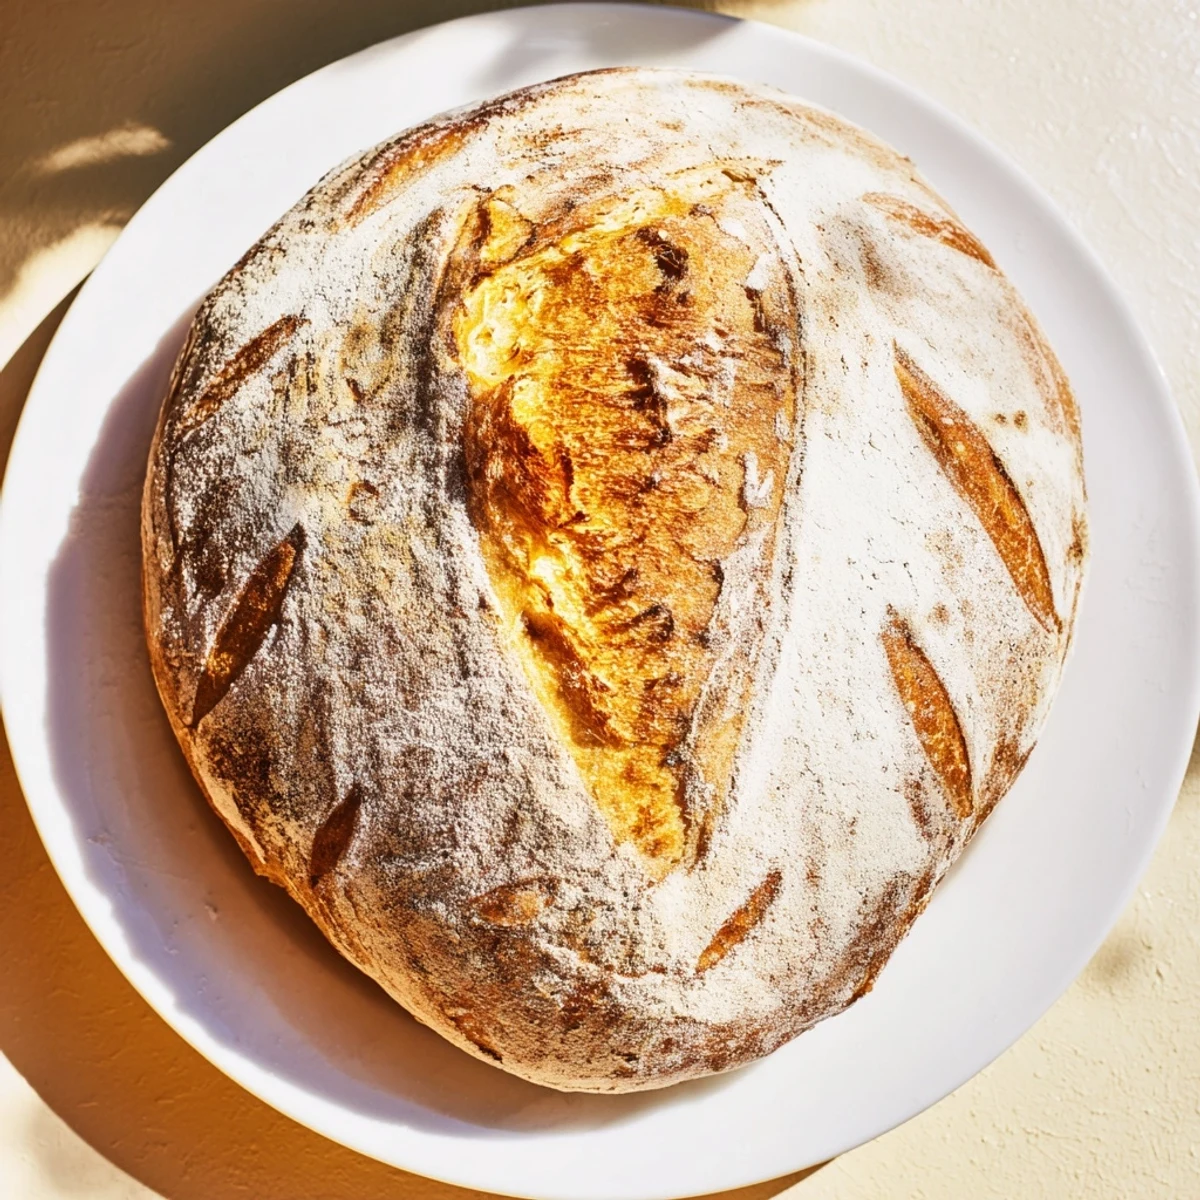
 This beginner-friendly bread delivers bakery-quality results with just four ingredients. The no-knead method creates a crackling golden crust and tender, airy crumb perfect for dipping, sandwiches, or enjoying warm with butter. Ready in under three hours with mostly hands-off rising time.
There's something deeply satisfying about making bread from scratch, even if it's just four simple ingredients. My first attempt at rustic bread was born out of desperation during a snowstorm when we were snowed in for three days. The local grocery store had completely sold out of bread, and I found myself staring at a jar of yeast my grandmother had given me months ago. What came out of my oven that evening wasn't perfect, but the crust was crackling and the inside was still steaming as we tore into it.
I made this bread for my sister's birthday dinner last spring, and she practically inhaled half the loaf before anyone else had even sat down. She kept asking what my secret was, expecting some complicated technique or exotic ingredient. The truth is, this recipe works because it embraces simplicity and lets time do most of the work.
Ingredients
- Bread flour: Higher protein content than all purpose flour gives you that beautiful chewy crumb structure and professional bakery texture
- Salt: Essential for flavor development and strengthening the gluten network, so don't be tempted to reduce it
- Instant yeast: No need to proof it first, just mix it directly into your dry ingredients for foolproof results
- Lukewarm water: Should feel like bath temperature, too hot will kill your yeast and too cold will slow everything down
Instructions
- Mix your base:
- Combine the bread flour, salt, and instant yeast in a large bowl, making sure everything is evenly distributed before adding any liquid
- Bring it together:
- Pour in the lukewarm water and stir with a wooden spoon until you have a shaggy, sticky dough that holds together but looks quite rough
- Let it rest:
- Cover your bowl with plastic wrap or a damp towel and walk away for 1 to 2 hours, letting time and yeast work their magic
- Shape gently:
- Lightly flour your work surface, turn out the dough, and fold the edges underneath to form a rough ball without deflating it too much
- Prepare for baking:
- Place your dough seam side down on parchment paper sprinkled with cornmeal or flour, then let it rest while you preheat your oven to 450°F
- Get your oven ready:
- If you have a Dutch oven, put it empty in the oven now so it gets screaming hot, which creates that incredible crust
- Bake with steam:
- Carefully transfer your dough into the hot Dutch oven, score the top with a sharp knife, and bake covered for 25 minutes
- Create the crust:
- Remove the lid and bake for another 15 minutes until your loaf is deeply golden and sounds hollow when you tap the bottom
- Cool completely:
- Let the bread rest on a wire rack for at least 30 minutes before slicing, otherwise the steam will escape and you'll lose that perfect texture
 Pin it
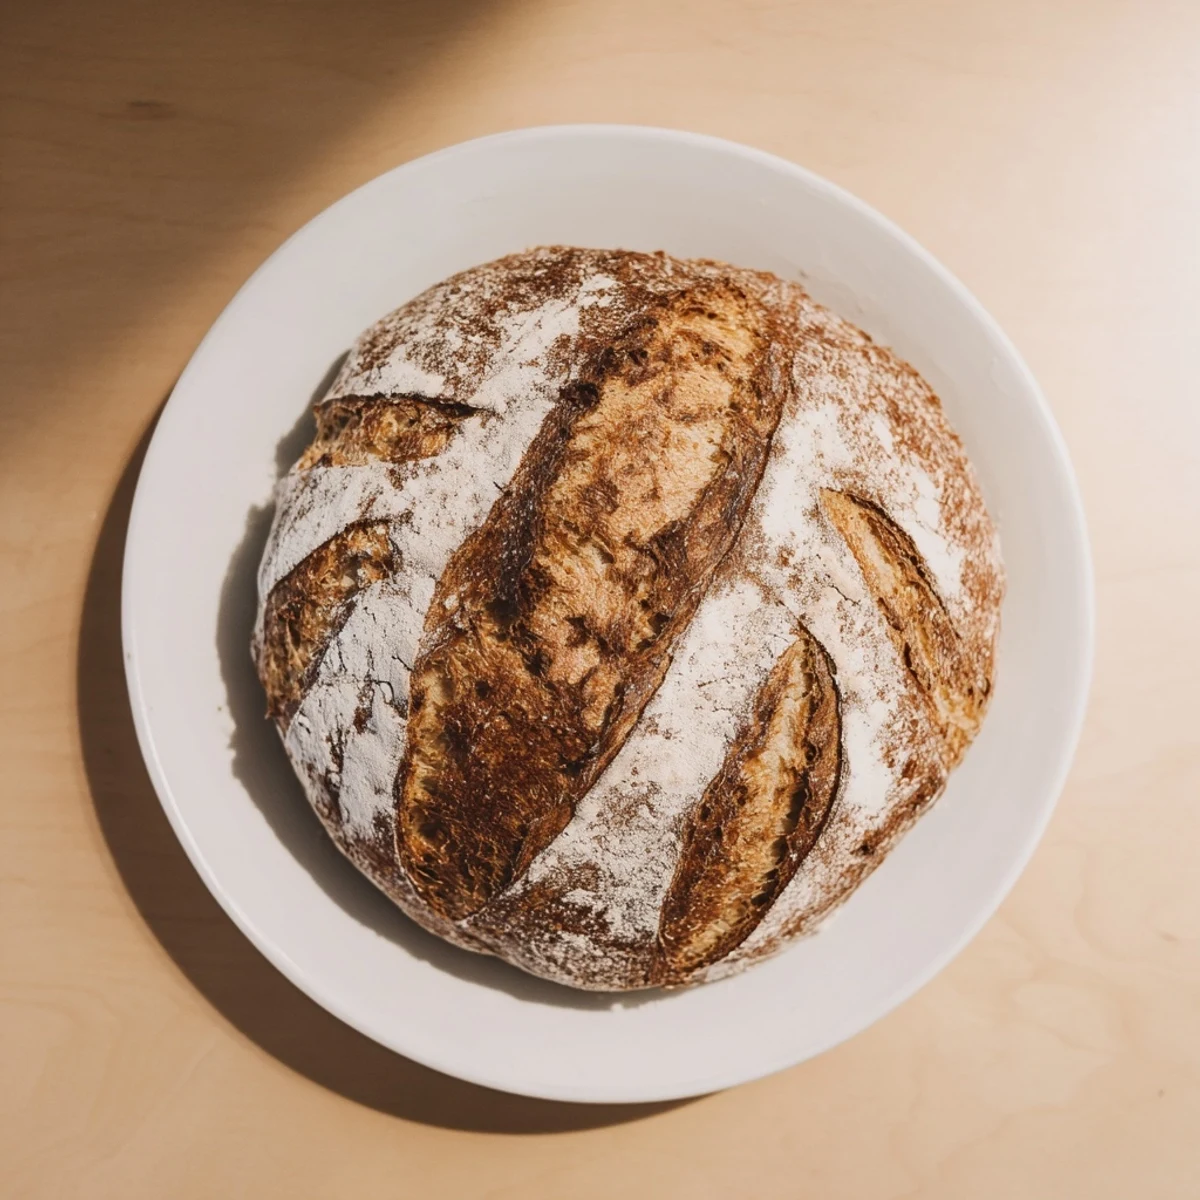
 This bread has become my go to for housewarming gifts and dinner parties. There's something so primal and wonderful about breaking bread with people, literally tearing apart a loaf you made with your own hands.
Making It Your Own
Once you've mastered the basic recipe, try adding chopped rosemary, roasted garlic, or even some shredded cheese during the mixing step. I love adding a tablespoon of olive oil to the dough for a softer crust and slightly richer flavor.
Timing Your Bake
The best part about this recipe is how flexible it is. I often mix the dough before bed, let it rise slowly in the refrigerator overnight, then bake it fresh for breakfast. The longer fermentation gives it a subtle tanginess that makes it taste even more professional.
Storing And Serving
Homemade bread is best eaten the same day, but you can refresh a day old loaf by sprinkling it with water and heating it in a 350°F oven for 10 minutes. Store it cut side down on a cutting board, never in plastic, which makes the crust soft and sad.
- A sharp serrated knife will give you the cleanest slices without squishing your beautiful crust
- This bread freezes beautifully, just slice it first and thaw individual slices as needed
- Leftover pieces make the most incredible croutons for soup or salad the next day
 Pin it
 Every time I pull a loaf from the oven, I'm reminded that some of the best things in life really are the simplest. There's nothing quite like warm bread with butter, especially when you made it yourself.
Recipe FAQs
- → Can I use all-purpose flour instead of bread flour?
-
Bread flour provides the best structure and chew due to higher protein content. All-purpose flour works but yields a slightly softer crumb. For best results, use bread flour or a 50/50 blend.
- → Why do I need a Dutch oven?
-
A Dutch oven traps steam during baking, creating that signature crackling crust. If unavailable, bake on a heavy sheet or stone with a metal bowl inverted over the loaf for the first 25 minutes.
- → How do I know when the dough has risen enough?
-
The dough should double in size and look puffy with visible air bubbles. Gently press with a floured finger—if the indentation slowly fills back in, it's ready to shape.
- → Can I add mix-ins like herbs or cheese?
-
Absolutely. Fold in fresh rosemary, thyme, grated garlic, or shredded cheese after mixing the dough. Keep additions to 1/2 cup total to maintain proper dough structure.
- → How should I store this bread?
-
Store at room temperature in a paper bag for up to 2 days. For longer storage, freeze sliced portions in a freezer bag. Avoid plastic bags which trap moisture and soften the crust.