Pin it
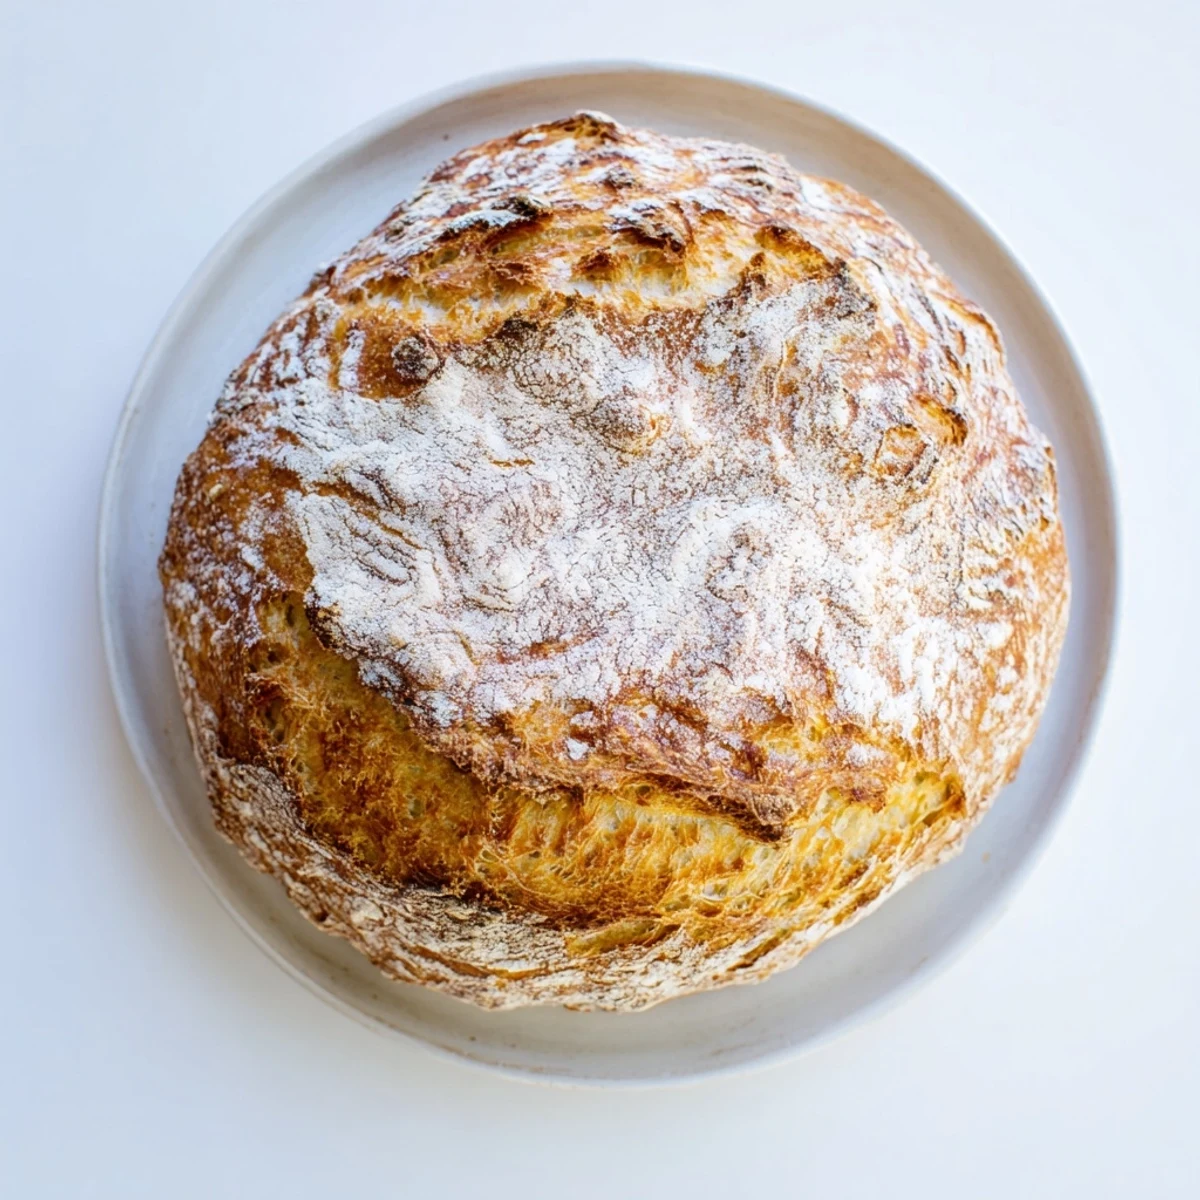
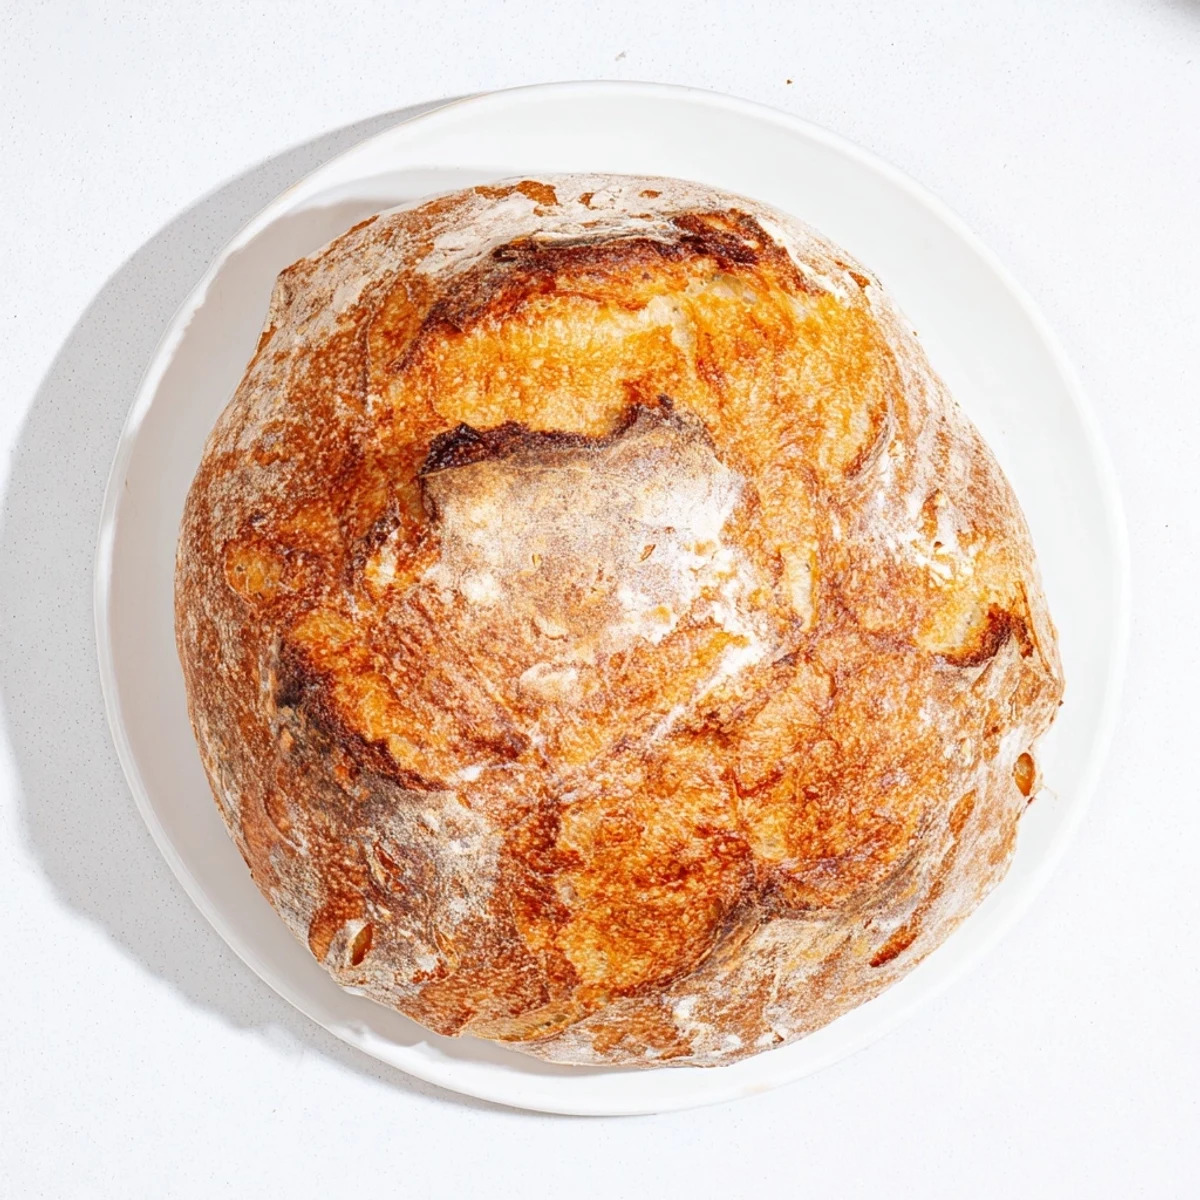
 Craft professional-quality artisan bread without any kneading. This revolutionary technique combines simple ingredients in a bowl, letting time and fermentation do the work. The result is a stunning loaf with crackling crust, open crumb structure, and complex flavor profile. Simply mix, rest overnight, shape, and bake in a preheated Dutch oven for bakery-worthy results that rival any neighborhood bakery.
The smell of this bread baking creates this ridiculous Pavlovian response in my household now—everyone starts hovering around the kitchen about 20 minutes before it's done. What started as a desperate attempt to make decent bread without destroying my wrists has become the most requested thing I make. The texture alone is worth the overnight wait.
I made this for my skeptical father who has been baking traditional bread for forty years. The way his eyebrows shot up when he tore into that first slice still makes me smile. He admitted the crumb structure was better than his kneaded version.
Ingredients
- Bread flour: Higher protein content gives better structure but all purpose works if that is what you have
- Salt: Do not reduce this or the bread will taste flat and sad
- Instant yeast: No proofing needed which saves you a step and eliminates one way to mess it up
- Lukewarm water: Think bath temperature not hot tap water or you will kill the yeast
- Extra flour: Have more ready than you think you need because this dough is seriously sticky
Instructions
- Mix the dough:
- Combine the flour salt and yeast in a large bowl then stir in the water until everything comes together into a shaggy messy ball
- Let it work:
- Cover the bowl and leave it alone for 12 to 18 hours until bubbles cover the surface and it has doubled in size
- Shape gently:
- Flour your surface and hands well then coax the dough into a rough ball without crushing all those air bubbles you waited for
- Second rest:
- Set the dough on parchment paper and cover it for 30 to 60 minutes while you heat the oven with your Dutch oven inside
- Bake covered:
- Lower the dough into the hot pot using the parchment paper as a sling then cover and bake for 30 minutes
- Finish it:
- Remove the lid and bake 12 to 15 more minutes until the crust is deeply golden and sounds hollow when tapped
 Pin it
 My neighbor actually knocked on my door to ask what smelled so good. Now we have this little bread exchange where I bring her a loaf and she leaves jam on my porch. Simple food creates the best connections.
Getting That Perfect Crust
The Dutch oven creates a mini steam chamber in your oven which is exactly what gives professional bread that crackly blistered crust. Do not skip preheating it because that initial burst of heat is crucial.
Timing Your Life Around Bread
Mix the dough before bed and you will wake up to a bubbly fermented masterpiece ready to bake. Alternatively start it in the morning for dinner bread. The long fermentation window is your friend not something to stress about.
Making It Your Own
Once you master the basic loaf the variations are endless. The dough handles additions beautifully without throwing off the chemistry.
- Fold in chopped olives or rosemary before shaping
- Swap one cup of flour for whole wheat if you want more depth
- Save the last slice for panzanella the next day because it makes the best croutons
 Pin it
 There is something deeply satisfying about serving bread you made yourself especially when people assume you spent hours kneading it.
Recipe FAQs
- → Why does this bread not require kneading?
-
Extended fermentation time allows gluten strands to develop naturally without mechanical kneading. The 12-18 hour resting period enables enzymes to break down proteins, creating strong gluten networks that give the bread its characteristic chewy texture and structure.
- → Can I reduce the rising time?
-
The long fermentation is essential for flavor development and texture. Shortening this period will result in denser bread with less complex taste. Plan ahead and start the dough the evening before you intend to bake.
- → What if I don't have a Dutch oven?
-
A heavy cast iron pot with tight-fitting lid or even a baking stone with an inverted metal bowl can work. The key is creating a steam-filled environment that promotes crust formation and oven spring.
- → Why is the dough so sticky?
-
High hydration is intentional for creating those desirable air pockets and crispy crust. Resist adding extra flour. Use well-floured hands when handling and trust the process—the sticky dough transforms beautifully during baking.
- → How do I know when it's done baking?
-
The loaf should sound hollow when tapped on the bottom, feature deep golden-brown color, and have a crackling crust. An instant thermometer inserted into the center should read 200-205°F for fully baked interior.
- → Can I freeze the baked loaf?
-
Wrap completely cooled bread tightly in plastic wrap, then foil. Freeze for up to 3 months. Thaw at room temperature, then refresh in a 350°F oven for 10 minutes to restore crustiness.