 Pin it
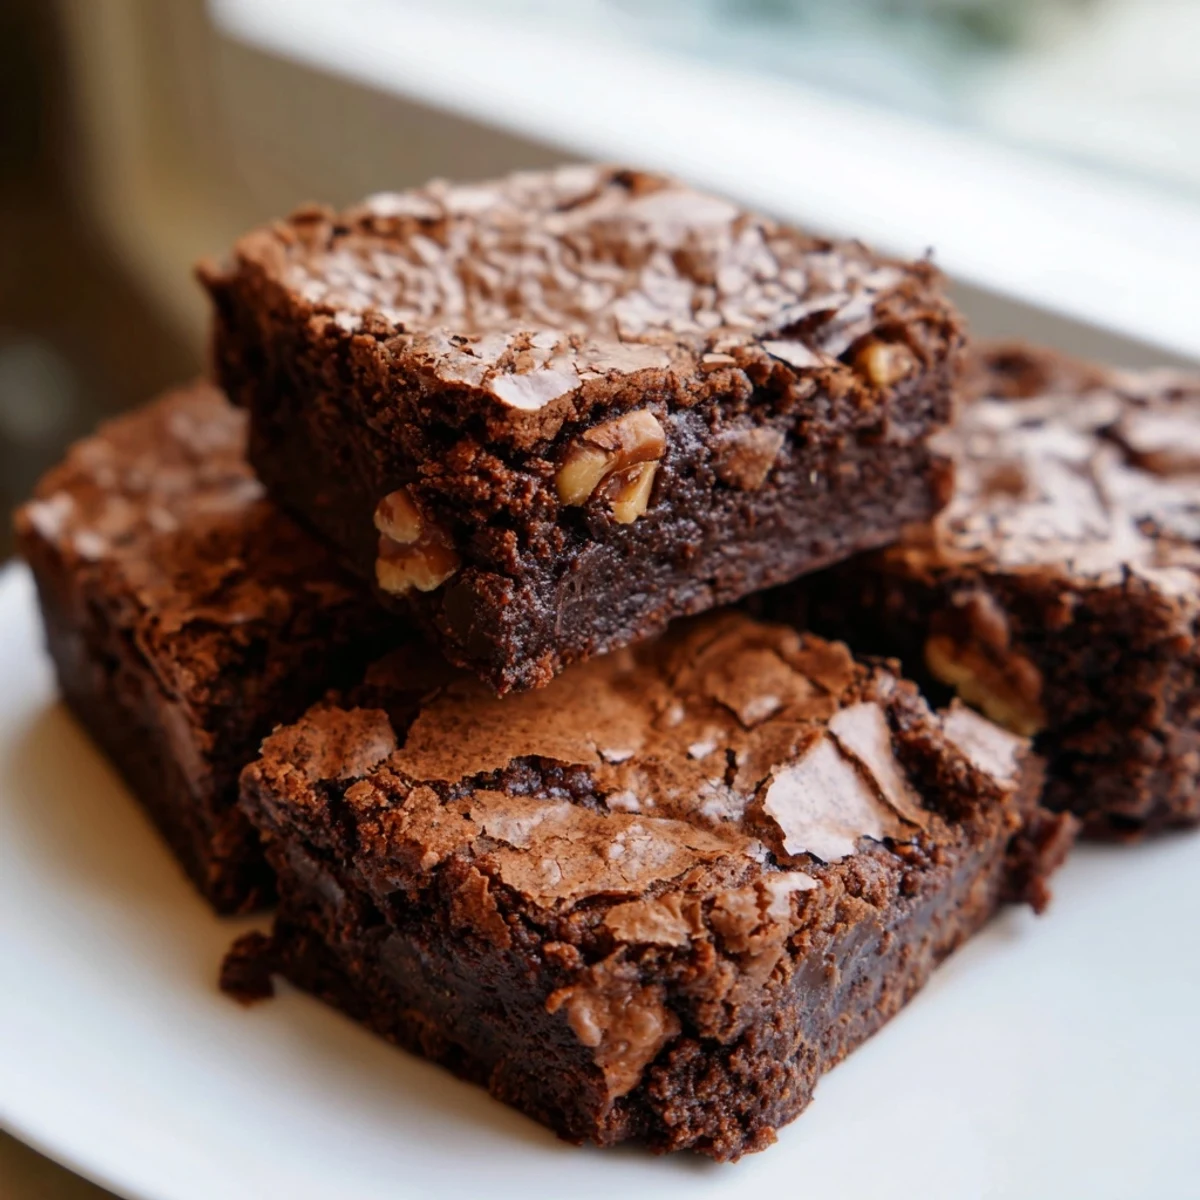
 These indulgent chocolate brownies feature a perfect balance of fudgy interior and crackly top. Made with high-quality dark chocolate and cocoa powder for intense flavor, they require just 15 minutes of prep and 30 minutes in the oven.
The simple mixing method ensures foolproof results, while optional add-ins like nuts or chocolate chips allow for customization. For extra fudginess, slightly underbake and allow to cool completely before cutting into perfect squares.
The afternoon light filtered through my kitchen window as the scent of melting chocolate filled the air, marking the first time I truly mastered these brownies. I'd tried countless recipes before, but something about the balance of fudgy centers and that perfect crackly top kept bringing me back to this one. There's something deeply satisfying about watching chopped chocolate slowly transform in a warm bath of butter, knowing the magic that's about to happen.
Last winter, during that strange week between Christmas and New Year, I made these brownies during a spontaneous afternoon visit from my cousin. We stood side by side at the counter, her chopping chocolate while I measured flour, catching up on months of stories. When we finally sat down with warm brownies and cold milk, our conversation flowed easier, as if the chocolate had melted away the awkwardness of too much time apart.
Ingredients
- Dark chocolate: The soul of these brownies, choose 60-70% cocoa for that perfect balance between sweetness and complexity, with high-quality bars giving a smoother melt than chips ever could.
- Butter: Unsalted gives you control over the final flavor, and I found that European-style butter with its higher fat content creates an even more luscious result.
- Two types of sugar: The granulated sugar creates that distinctive crackly top while the brown sugar adds moisture and a subtle caramel undertone that plain sugar brownies sadly lack.
- Room temperature eggs: Cold eggs can shock your melted chocolate mixture, creating a grainy texture, so this detail truly matters more than I originally thought.
- Cocoa powder: It deepens the chocolate intensity beyond what melted chocolate alone can achieve, working like the bass note in a perfect chocolate symphony.
Instructions
- Prep your workspace:
- Preheat your oven to 180°C (350°F) and line your baking pan with parchment, leaving those little wings of paper hanging over the sides. Those paper overhangs will be your best friends when it comes time to lift out the cooled brownies.
- Create the chocolate base:
- Set your heatproof bowl over a gently simmering pot, creating a double-boiler that melts chocolate without burning it. Watch as the chocolate and butter transform into a glossy pool, then remove from heat and let the mixture cool until it's warm but not hot.
- Build the batter structure:
- Whisk in both sugars until the mixture loses its shine and becomes slightly grainy. Add each egg one by one, giving a good whisking after each addition until the batter becomes glossy again and pulls slightly away from the sides when you lift the whisk.
- Add the dry ingredients:
- Sift the flour, cocoa, and salt directly into the bowl to prevent lumps from forming. Use a gentle folding motion with your spatula, cutting through the center and sweeping around the edges just until no flour streaks remain.
- Customize your creation:
- This is where you make these brownies truly yours by folding in nuts, chocolate chips, or whatever makes your heart happy. The gentle fold-in preserves the air you've incorporated while ensuring even distribution throughout.
- Prepare for baking:
- Transfer the thick batter to your prepared pan, using your spatula to guide it into the corners and create a smooth top. A gentle tap of the pan against the counter helps eliminate any large air pockets.
- Bake with patience:
- Slide the pan into your preheated oven and resist the urge to open the door for at least 25 minutes. Look for that set top and the slight pull away from the pan edges before testing with a toothpick.
- The waiting game:
- Let the brownies cool completely in the pan, which might feel like forever but allows the flavors to deepen and the texture to set properly. The difference between warm-cut brownies and properly cooled ones is remarkable.
 Pin it
 There was this moment during my daughter's twelfth birthday when I served these brownies instead of traditional cake, wondering if I'd made a terrible mistake. The kitchen fell silent as everyone took their first bite, then erupted in a chorus of appreciation. My daughter looked over at me with chocolate at the corner of her mouth and whispered, This is way better than cake, and in that small confession, I felt like I had done something truly right in the world of motherhood and baking.
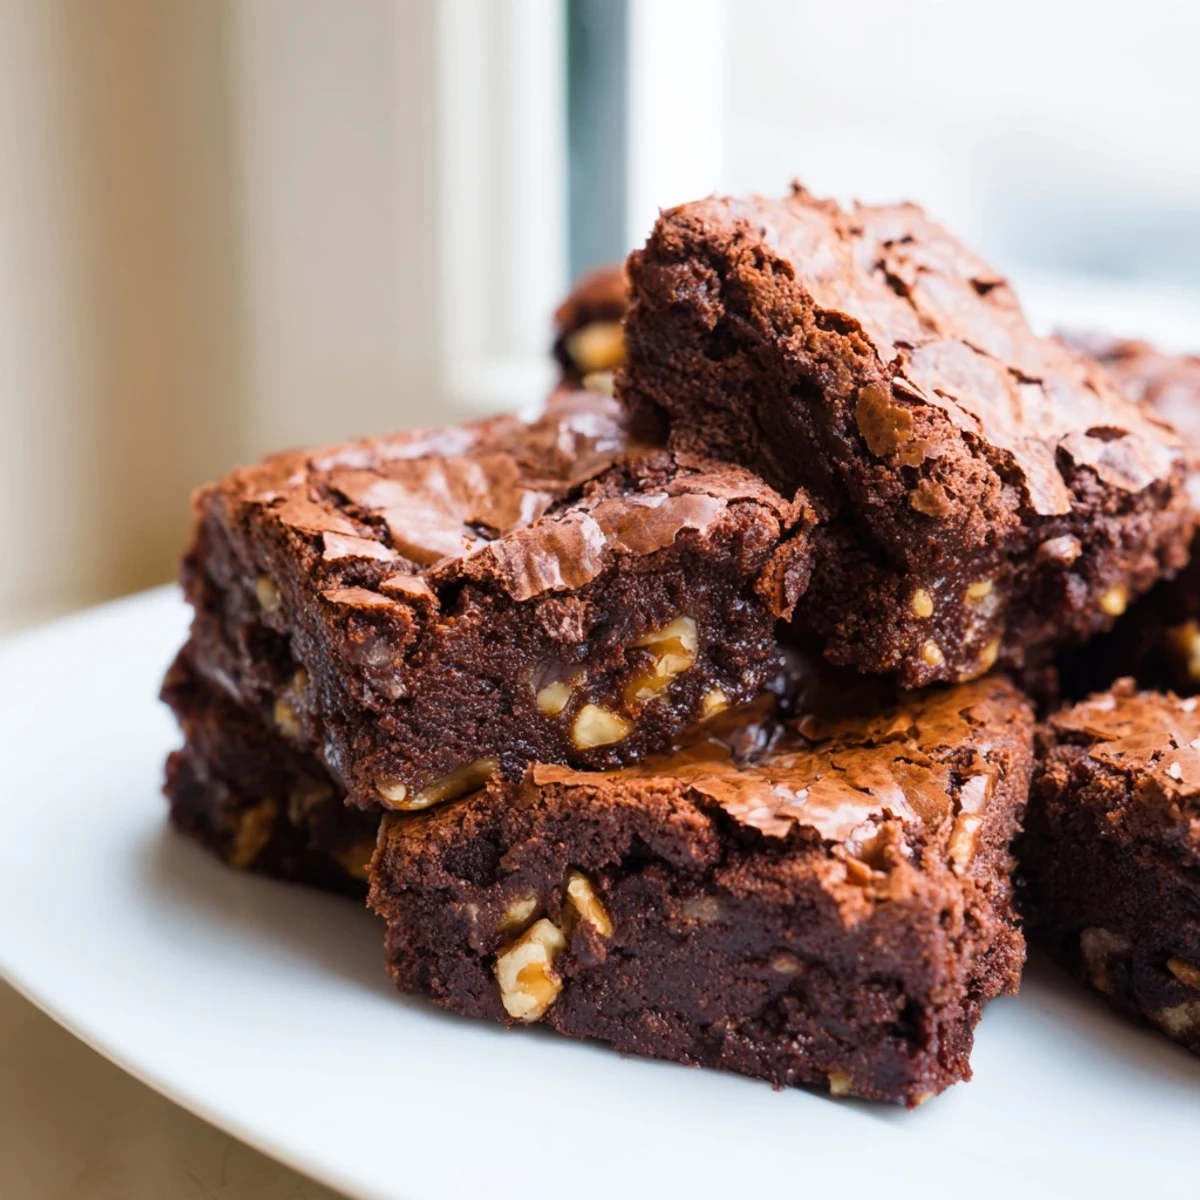
The Perfect Chocolate Selection
After multiple batches with various chocolates, I discovered that using a blend of chocolate types creates the most complex flavor profile. While the recipe calls for dark chocolate, I sometimes swap 50g of it for milk chocolate, which adds a creaminess that complements the intensity. The subtle difference is something guests can never quite put their finger on, but they always notice something special about these brownies compared to others.
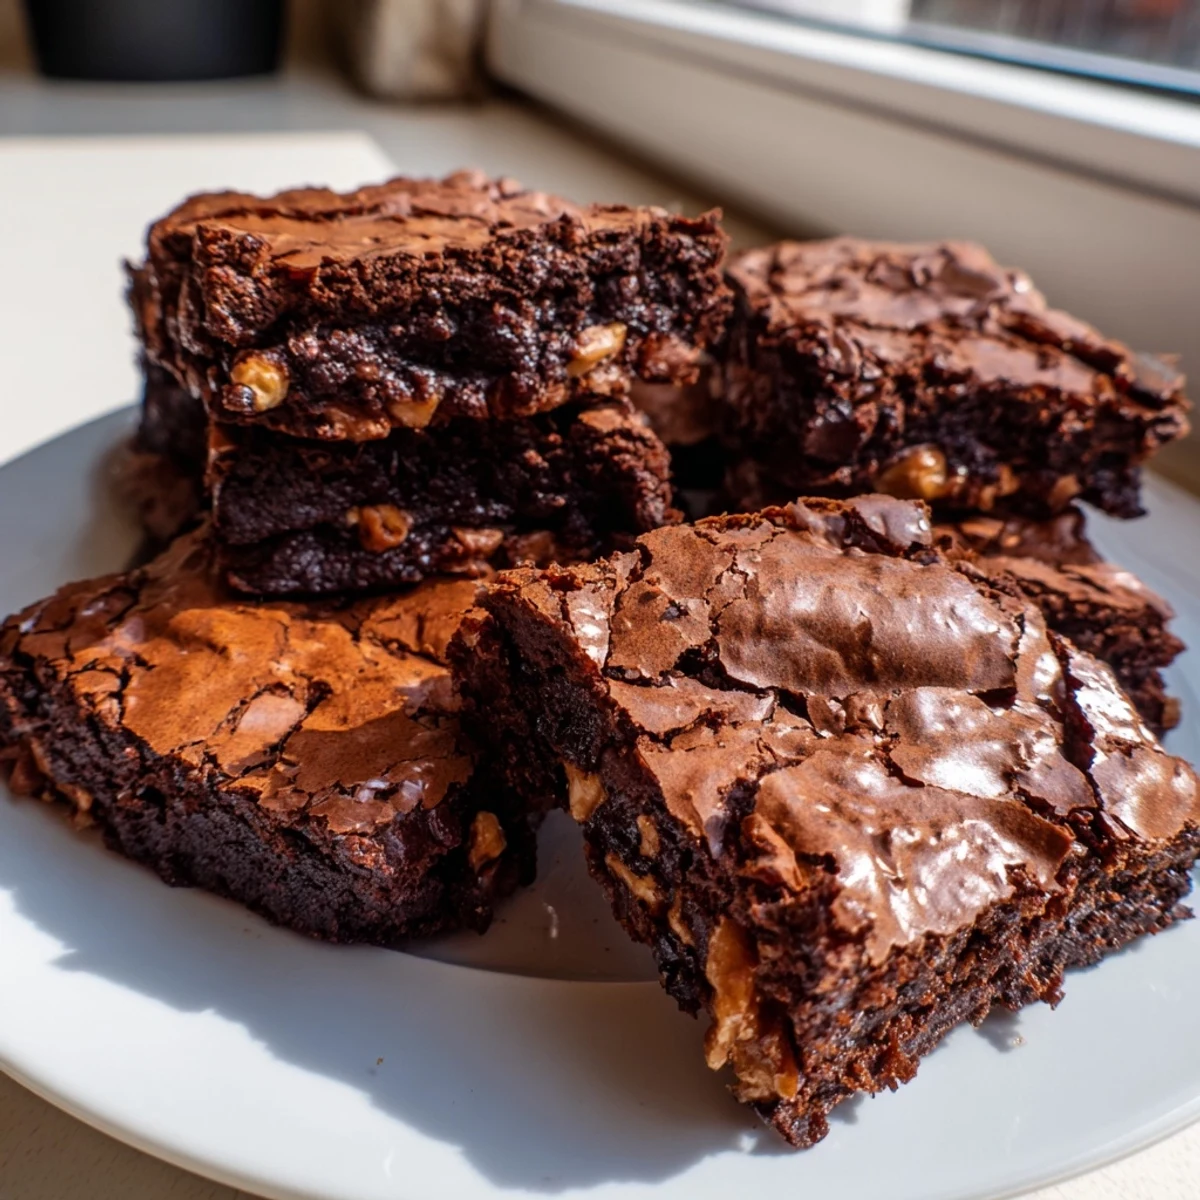
The Secret to That Crackly Top
That distinctive shiny, paper-thin crust on top of bakery-style brownies eluded me for years until I learned it comes from properly incorporating the eggs and sugar. The vigorous whisking creates a meringue-like effect as tiny air bubbles form in the batter. When these bubbles rise to the surface during baking, they create that magical crackly top that makes everyone think you bought them from a professional.
Storage and Serving Suggestions
These brownies actually improve with a day of rest, as the flavors have time to meld and deepen, making them perfect for make-ahead desserts or gifts. They keep beautifully at room temperature in an airtight container for up to 3 days, though they rarely last that long in my house.
- For an elegant dessert, warm a brownie square slightly and top with a scoop of vanilla bean ice cream and a light dusting of flaky sea salt.
- Cut smaller portions and arrange them on a platter with fresh raspberries and mint leaves for a stunning dinner party finale that looks far more complex than it is.
- Wrap individual squares in parchment paper and tie with twine for a homemade gift that will earn you serious brownie points with friends and neighbors.
 Pin it
 These brownies have become more than just a recipe in my collection, they're a reliable friend I call upon whenever I need something that speaks the universal language of comfort. In their deep chocolate embrace, theres always the promise of a moment of pure, uncomplicated joy.
Recipe FAQs
- → How do I know when brownies are perfectly baked?
-
Brownies are done when the top is set and crackly, and a toothpick inserted in the center comes out with a few moist crumbs (not wet batter). For fudgier brownies, bake at the shorter end of the recommended time (28 minutes). The brownies will continue to set as they cool.
- → Can I make these brownies without nuts?
-
Absolutely! The nuts are listed as an optional add-in. You can omit them entirely for nut-free brownies, or substitute with chocolate chips, dried fruits, or other mix-ins of your choice.
- → How should I store chocolate brownies?
-
Store completely cooled brownies in an airtight container at room temperature for up to 3-4 days. For longer storage, wrap individual brownies in plastic wrap and freeze for up to 3 months. Thaw at room temperature when ready to enjoy.
- → Why do you melt chocolate and butter together over simmering water?
-
Using a double boiler method (bowl over simmering water) prevents the chocolate from burning or seizing. Direct heat can easily damage chocolate, resulting in a grainy texture. This gentle melting method ensures smooth, silky chocolate that incorporates perfectly with the butter.
- → What's the purpose of adding espresso powder?
-
Espresso powder enhances the chocolate flavor without adding coffee taste. It works as a flavor amplifier, making the chocolate taste richer and more complex. It's optional but highly recommended for the most intense chocolate experience.