 Pin it
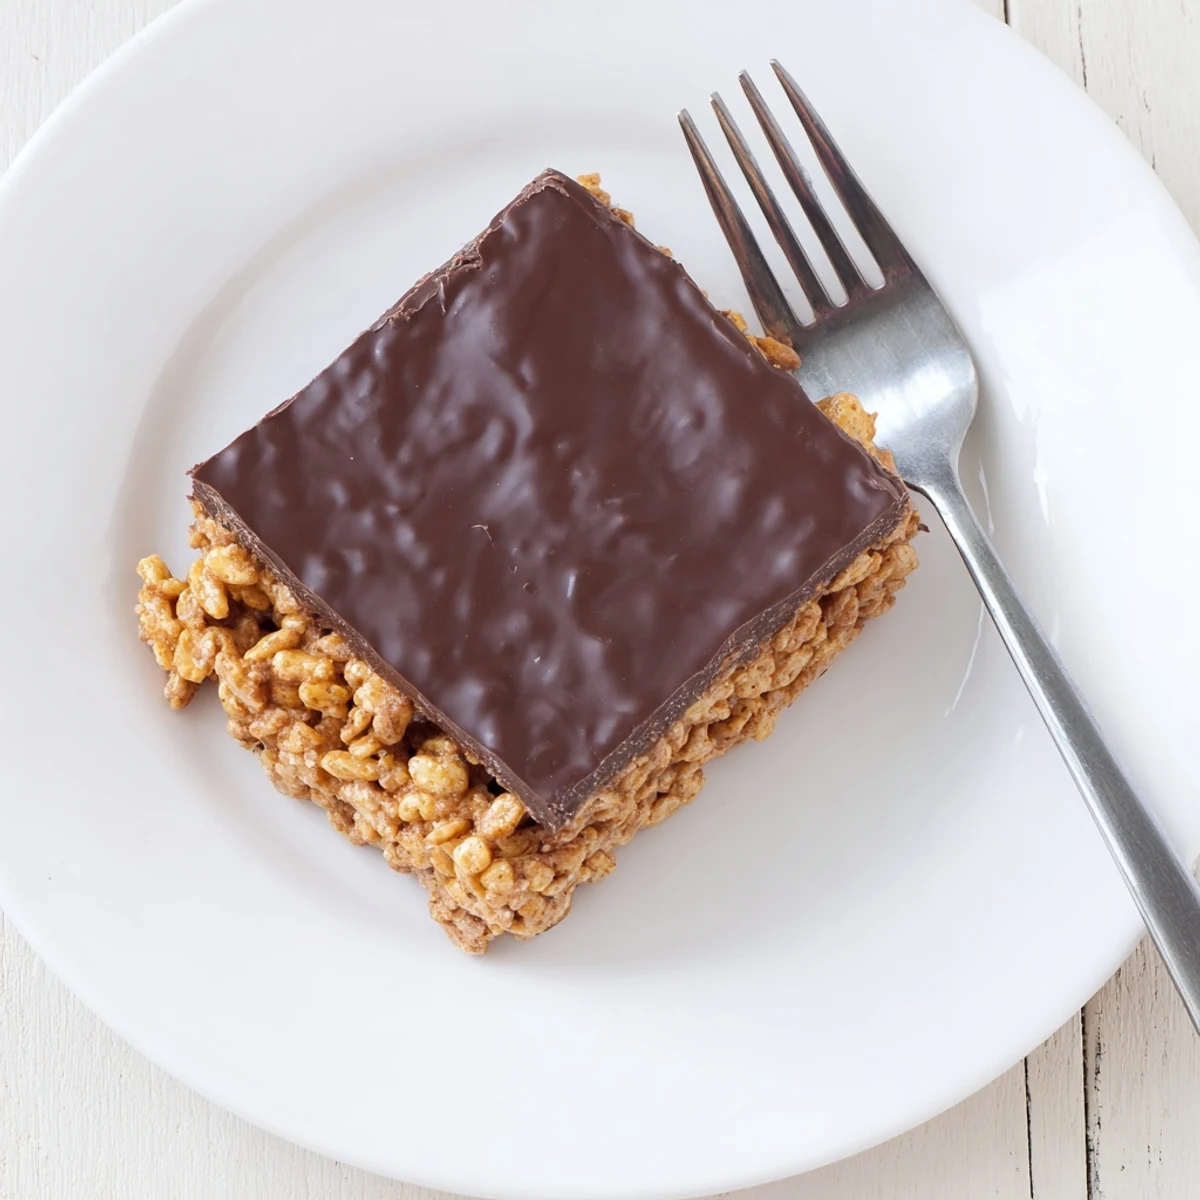
 These sweet and crunchy bars combine gluten-free Honey Chex cereal with a warm mixture of peanut butter, honey, and butter. The cereal base gets pressed into a pan, then topped with melted chocolate chips swirled with extra peanut butter. After an hour in the refrigerator, they slice into perfect handheld portions.
The no-bake method makes these ideal for warm days or when you need a quick treat. The honey adds natural sweetness while the peanut butter provides protein and richness. Each bar delivers satisfying crunch from the cereal and creaminess from the chocolate-peanut butter topping.
The best recipes often come from moments of desperation, and this one arrived during a sweltering July when our air conditioner broke. Standing in a kitchen that felt like an oven, I refused to turn on the actual stove. These bars saved the day and have been my go-to no-bake treat ever since.
My daughter accidentally discovered the magic of flaky sea salt on chocolate when she knocked into the salt shaker while helping me make these one afternoon. Now I consider that sprinkle absolutely non-negotiable.
Ingredients
- 4 cups gluten-free Honey Chex cereal: The honey variety adds an extra layer of sweetness that regular Chex simply cannot match
- 1 cup creamy peanut butter: Room temperature peanut butter blends so much more smoothly with honey
- 1/2 cup honey: Local honey works beautifully here, and I love supporting neighborhood beekeepers
- 1/4 cup unsalted butter: Slice it into smaller pieces before melting to help everything combine evenly
- 1 cup semisweet chocolate chips: Always double-check the label for gluten-free certification
- 2 tablespoons creamy peanut butter: This little bit of peanut butter in the chocolate makes it melt more smoothly
Instructions
- Prep your pan first:
- Line an 8x8-inch baking pan with parchment paper, letting the edges hang over like little handles for easy lifting later
- Melt the base mixture:
- Combine the peanut butter, honey, and butter in a large saucepan over medium-low heat, stirring constantly until everything turns into a glossy, smooth liquid
- Coat the cereal:
- Fold in the Honey Chex gently but thoroughly, taking your time to ensure every piece gets covered in that sweet peanut butter mixture
- Press it down:
- Transfer the mixture to your prepared pan and press it firmly with the back of a spoon, really getting it into all the corners
- Make the chocolate topping:
- Microwave the chocolate chips and remaining peanut butter together in 30-second bursts, stirring between each one until perfectly smooth
- Add the chocolate layer:
- Pour the chocolate over your cereal base and spread it evenly with a spatula, working quickly before it starts to set
- Chill until firm:
- Refrigerate for at least one hour, though I have been known to sneak a taste after 45 minutes
- Cut and serve:
- Lift the whole block out using the parchment paper handles and cut into 16 squares with a sharp knife
 Pin it
 These bars have become my emergency contribution for every potluck, school gathering, and last-minute dessert situation. People always ask for the recipe, and I love seeing their surprise when I explain there is absolutely no baking involved.
Making Them Your Own
My neighbor swaps sunflower seed butter for peanut butter to make them school-friendly, and her kids actually prefer them that way now. The texture stays exactly the same.
Storage Wisdom
I learned the hard way that these bars turn into a sticky mess at room temperature. The refrigerator is non-negotiable, and they actually taste better cold anyway.
Getting The Perfect Cut
Run your knife under hot water and wipe it dry between every few cuts for the cleanest, most professional looking bars. It takes an extra minute but makes such a difference.
- Use a sharp knife, not a serrated one
- Make one long clean cut rather than sawing back and forth
- Cut them while they are still cold from the fridge
 Pin it
 There is something deeply satisfying about making something this delicious without ever turning on the oven. These bars have saved me more times than I can count.
Recipe FAQs
- → Can I use regular Chex instead of Honey Chex?
-
Yes, you can substitute regular Rice Chex or Corn Chex. The flavor will be less sweet, so you might want to add an extra tablespoon of honey to the base mixture.
- → How should I store these bars?
-
Store in an airtight container in the refrigerator for up to 1 week. The cold temperature keeps the chocolate topping firm and prevents the bars from becoming too soft.
- → Can I make these dairy-free?
-
Substitute the butter with coconut oil or a dairy-free butter alternative. Use dairy-free chocolate chips certified gluten-free. The texture may vary slightly depending on your substitutions.
- → Do I need to use parchment paper?
-
Parchment paper is highly recommended as it creates an overhang that lets you lift the entire batch out of the pan easily. This makes cutting clean squares much simpler and prevents sticking.
- → Can I freeze these bars?
-
Yes, freeze individual portions wrapped in plastic wrap and placed in a freezer-safe bag for up to 3 months. Thaw in the refrigerator for 2-3 hours before serving.
- → What size pan works best?
-
An 8x8-inch square pan yields 16 substantial bars. Using a 9x9-inch pan will make slightly thinner pieces, while a smaller pan creates thicker bars that may need extra chilling time.