 Pin it
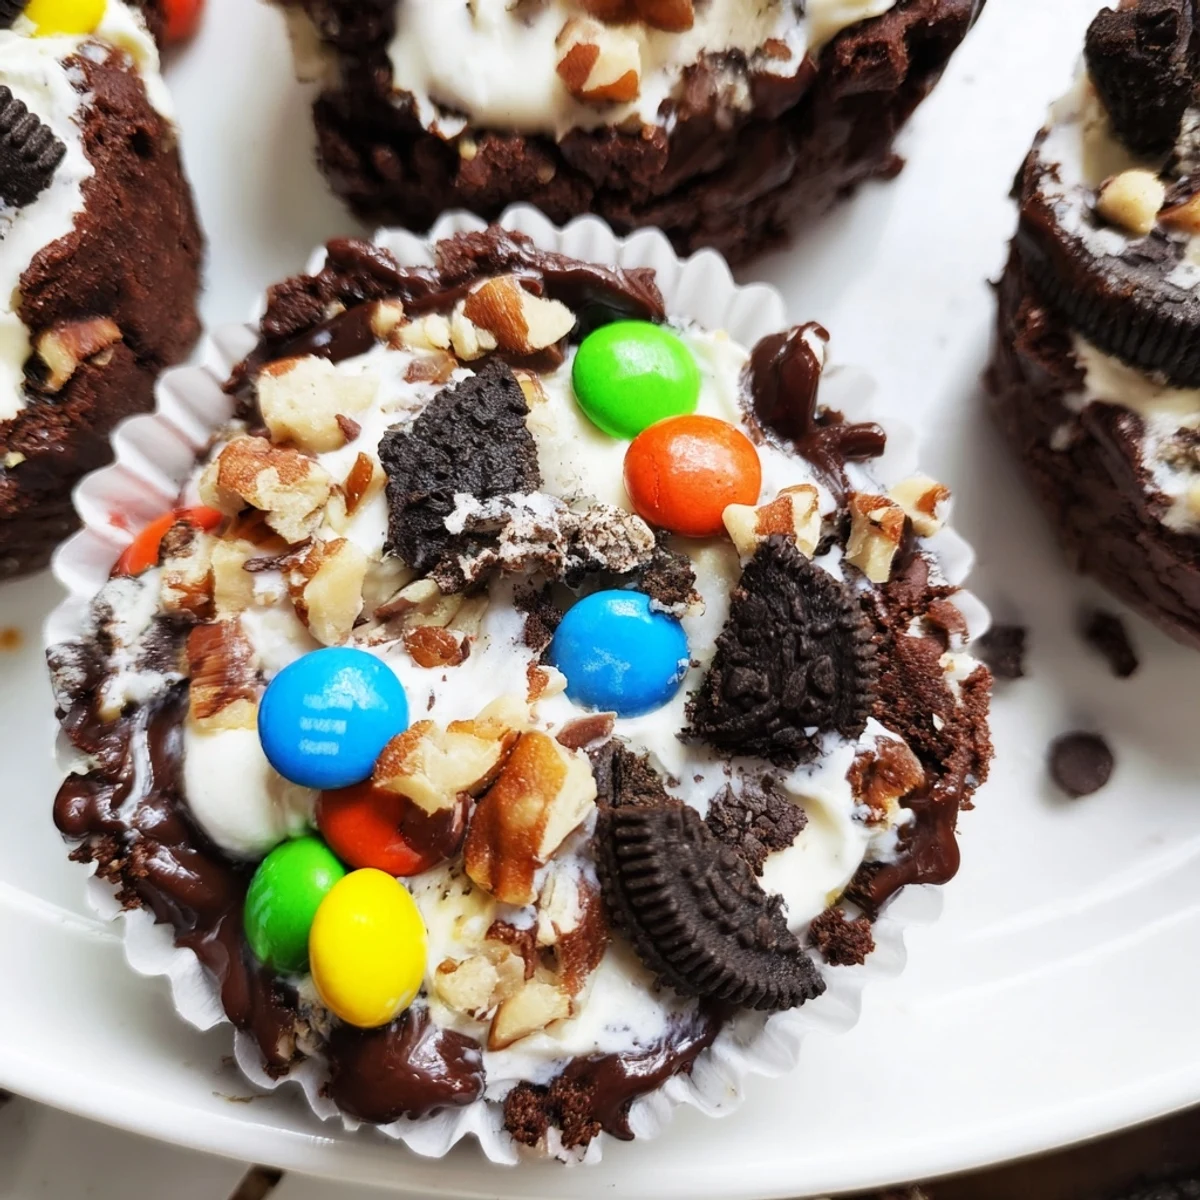
 These loaded brownie cheesecake cups combine rich, fudgy chocolate brownies with smooth creamy cheesecake filling. The individual portions are perfect for parties and gatherings, topped generously with chocolate chips, chopped nuts, crushed Oreos, and colorful M&Ms for maximum visual appeal and texture variety.
The preparation comes together in just 25 minutes of active work, with a 25-minute bake time yielding 12 impressive individual desserts. The brownie base remains dense and fudgy while the cheesecake layer adds a light, creamy contrast that balances the intense chocolate flavor perfectly.
Customize the loaded toppings based on your preferences—try peanut butter chips, toffee bits, coconut flakes, or crushed cookies. For the best texture and flavor, chill the cups for at least one hour before serving, allowing the flavors to meld and the cheesecake to set properly.
The first time I made these, my kitchen counter looked like a candy store explosion. Chocolate chips everywhere, pecans scattered across the floor, and my 4-year-old insisting that more M&Ms equal better cupcakes.
I brought a platter to a friend's birthday last summer, and her husband actually asked if I'd start selling them. The contrast between fudgy brownie and tangy cheesecake hits different when you've been standing around a barbecue all afternoon.
Ingredients
- Unsalted butter: Melt it slowly and let it cool slightly before whisking in sugars to prevent scrambling the eggs
- Granulated and brown sugar: The brown sugar adds moisture and depth while white sugar creates that crackly brownie top
- Eggs: Room temperature eggs blend better and create a smoother texture in both layers
- Unsweetened cocoa powder: Dutch-processed gives the richest chocolate flavor without bitterness
- All-purpose flour: Measure by weight if you can because too much flour makes brownies cakey instead of fudgy
- Cream cheese: Absolutely must be softened to room temp or you will have lumpy filling
- Mini chocolate chips: Mini chips distribute more evenly than regular sized ones
- Chopped nuts: Toast them for 5 minutes beforehand to bring out their natural oils
- Crushed Oreos: Pulse them in a food processor so the pieces are small enough to sprinkle evenly
- Mini M&Ms: These hold their shape better than regular M&Ms during baking
Instructions
- Prep your oven and pan:
- Set oven to 175°C (350°F) and line a 12-cup muffin tin with liners. The liners make removal so much easier and look prettier than greasing alone.
- Make the brownie batter:
- Melt butter in a medium bowl then whisk in both sugars until glossy and smooth. Add eggs and vanilla, beating until combined, then fold in cocoa, flour, and salt just until no dry streaks remain.
- Layer the brownie base:
- Divide about 1 heaping tablespoon of brownie batter into each muffin cup. Press down gently with the back of a spoon to create an even layer.
- Whip up the cheesecake filling:
- Beat softened cream cheese until completely smooth, then add sugar, egg, and vanilla. Keep mixing until creamy and lump-free.
- Add the cheesecake layer:
- Spoon about 1 tablespoon of cheesecake mixture over each brownie base. Swirl gently with a toothpick if you want a marbled look.
- Load on the toppings:
- Sprinkle each cup generously with any combination of chocolate chips, nuts, crushed Oreos, and M&Ms. Really pile them on because they settle as they bake.
- Bake to perfection:
- Bake for 22 to 25 minutes until cheesecake is set and brownie edges are firm. The centers should still have a slight jiggle.
- Cool completely:
- Let them cool in the pan for 10 minutes before transferring to a wire rack. Chill for at least 1 hour before serving so the flavors meld and texture firms up.
 Pin it
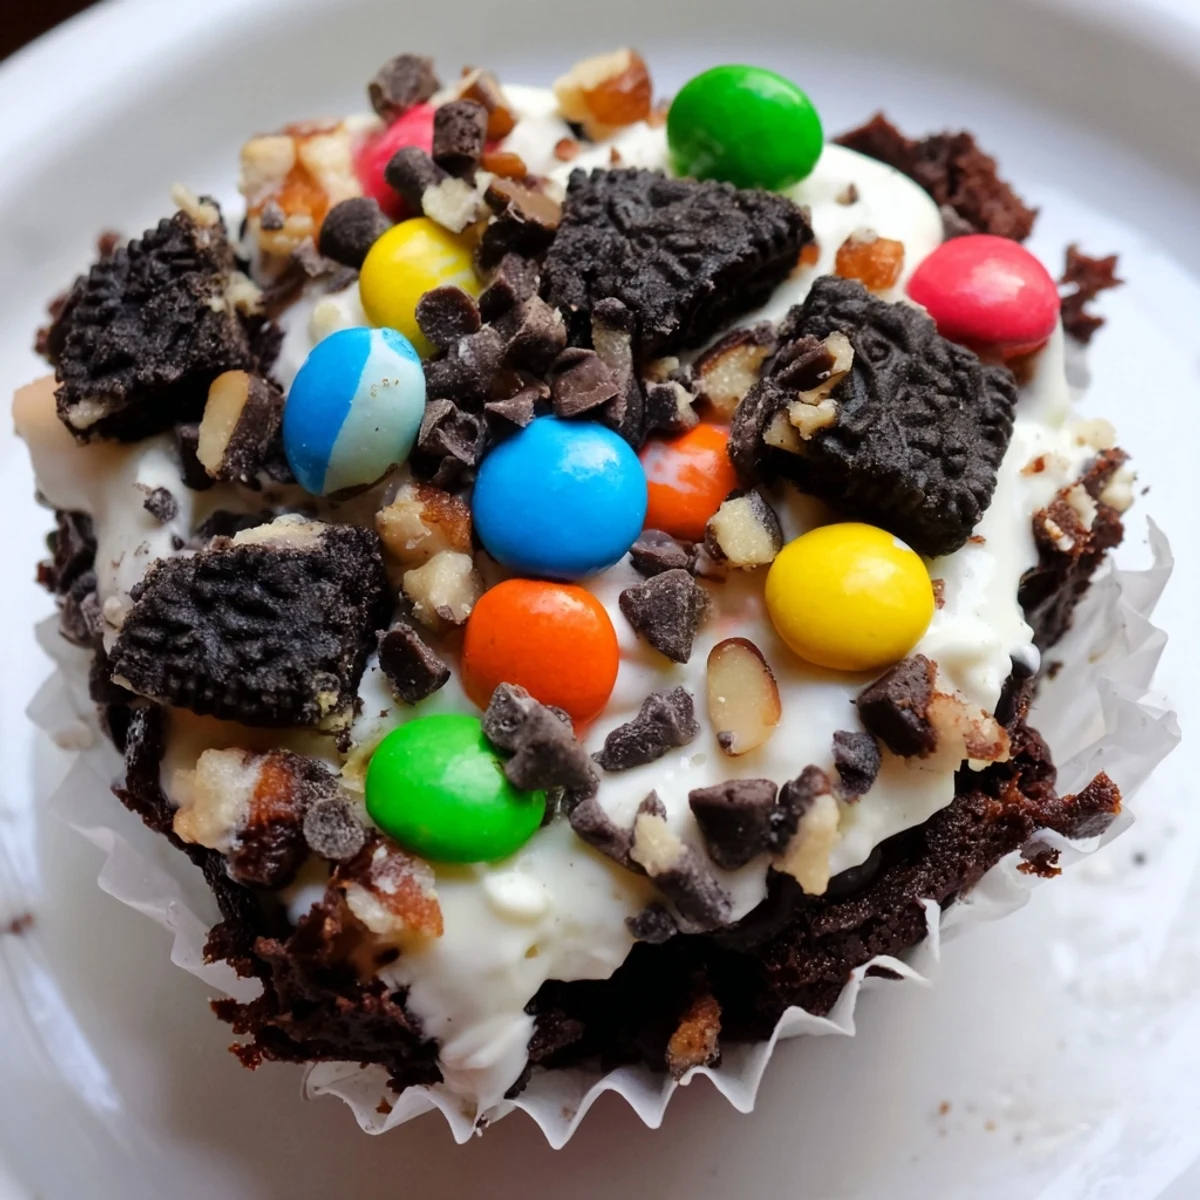
 These became my go-to dessert for book club because I can customize the toppings based on who's coming. The chocolate lovers get extra chips, the nut fans get pecans, and everyone walks away happy.
Topping Combinations That Work
Stick to two or three toppings per cup instead of using all four at once. Too many competing flavors muddy the chocolate experience. I learned this the hard way when my first batch tasted like a confused candy bowl.
Making Them Ahead
You can bake these up to two days in advance and store them in the refrigerator. They actually taste better after chilling overnight because the brownie and cheesecake layers have time to become friends. Serve them cold or let them sit out for 15 minutes before serving.
Serving Suggestions
These are rich enough to stand alone but a cold glass of milk cuts through the sweetness beautifully. Dark roast coffee works surprisingly well too if you are serving them after dinner.
- Place them on cupcake stands for parties to show off the colorful toppings
- Add a dollop of whipped cream if you really want to gild the lily
- Warm them for 10 seconds in the microwave if serving straight from the fridge
 Pin it
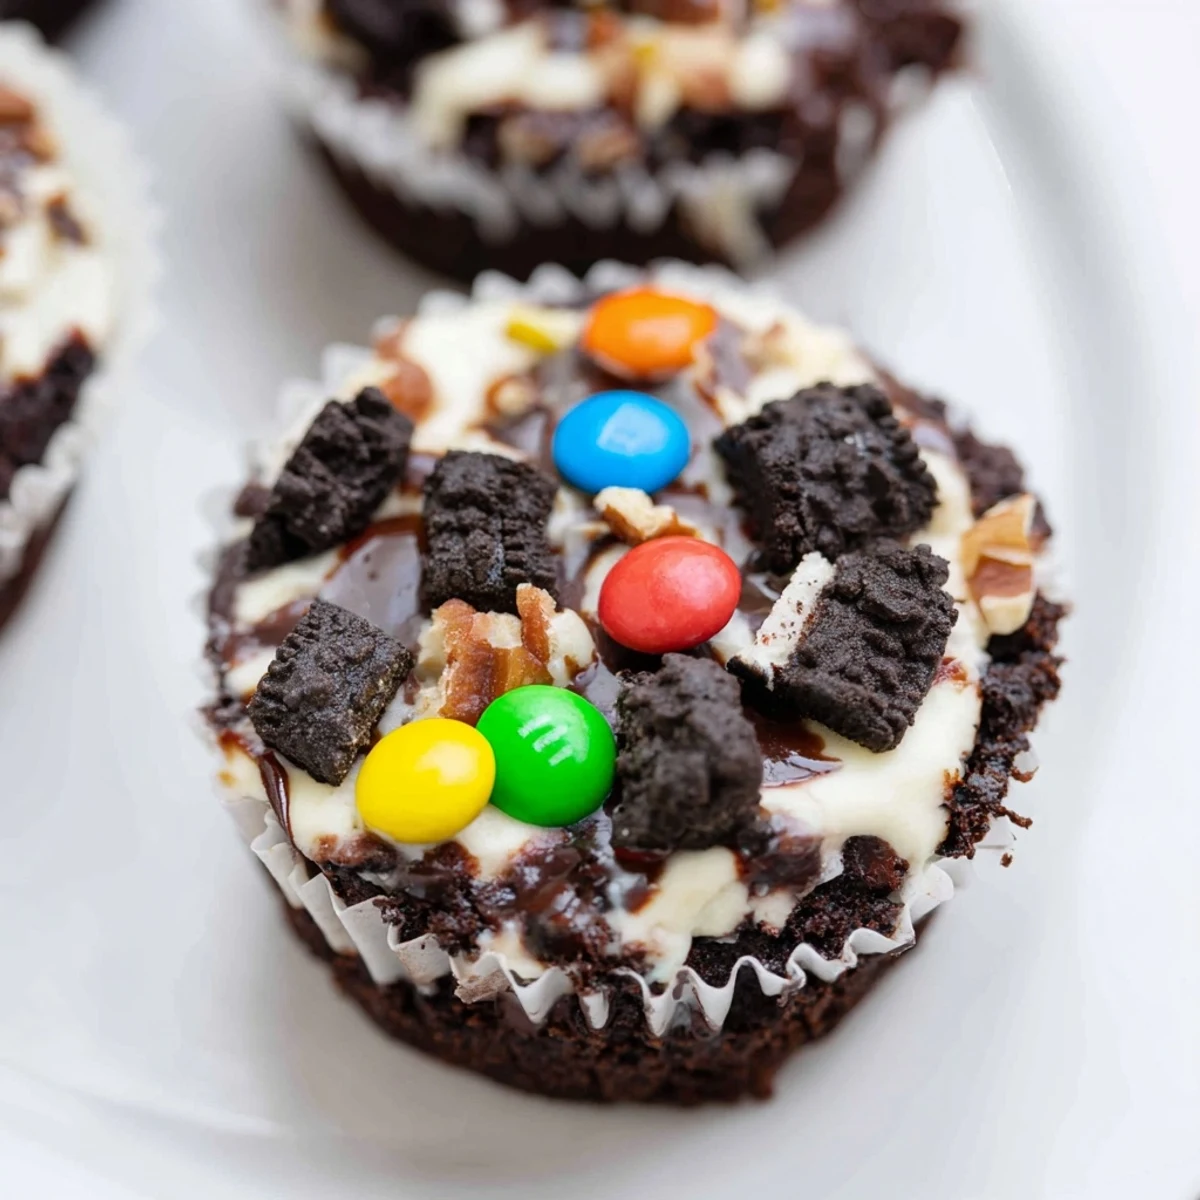
 There is something magical about breaking through that crunchy topping into the creamy cheesecake and hitting the fudgy brownie beneath. Pure happiness in a muffin cup.
Recipe FAQs
- → Can I make these brownie cheesecake cups ahead of time?
-
Yes, these cups can be made up to 2 days in advance. Store them refrigerated in an airtight container for up to 5 days. The flavors actually improve after chilling overnight as the brownie becomes more fudgy and the cheesecake sets properly.
- → What other toppings work well for these cups?
-
Beyond the suggested toppings, try peanut butter chips, white chocolate chunks, toffee bits, shredded coconut, crushed pretzels for salt contrast, or fresh berries like raspberries and strawberries for a fruity twist.
- → How do I know when the cups are fully baked?
-
The cheesecake tops should be set and firm to the touch, while the brownie edges should feel slightly firm but the centers may still look slightly glossy. A toothpick inserted into the brownie portion should come out with moist crumbs, not wet batter.
- → Can I freeze these loaded cheesecake cups?
-
Absolutely. Wrap each cup individually in plastic wrap and place in a freezer-safe container. They'll keep for up to 3 months. Thaw overnight in the refrigerator before serving for the best texture and consistency.
- → Why did my cheesecake layer crack during baking?
-
Cracking typically occurs from overbaking or overmixing the cheesecake batter. Beat the filling just until combined, and avoid opening the oven door frequently during baking. The cheesecake will continue setting as it cools.
- → Can I make these gluten-free?
-
Yes, simply substitute the all-purpose flour with a reliable 1:1 gluten-free flour blend. Ensure your toppings like Oreos and other cookies are certified gluten-free varieties to maintain the dietary restriction.