 Pin it
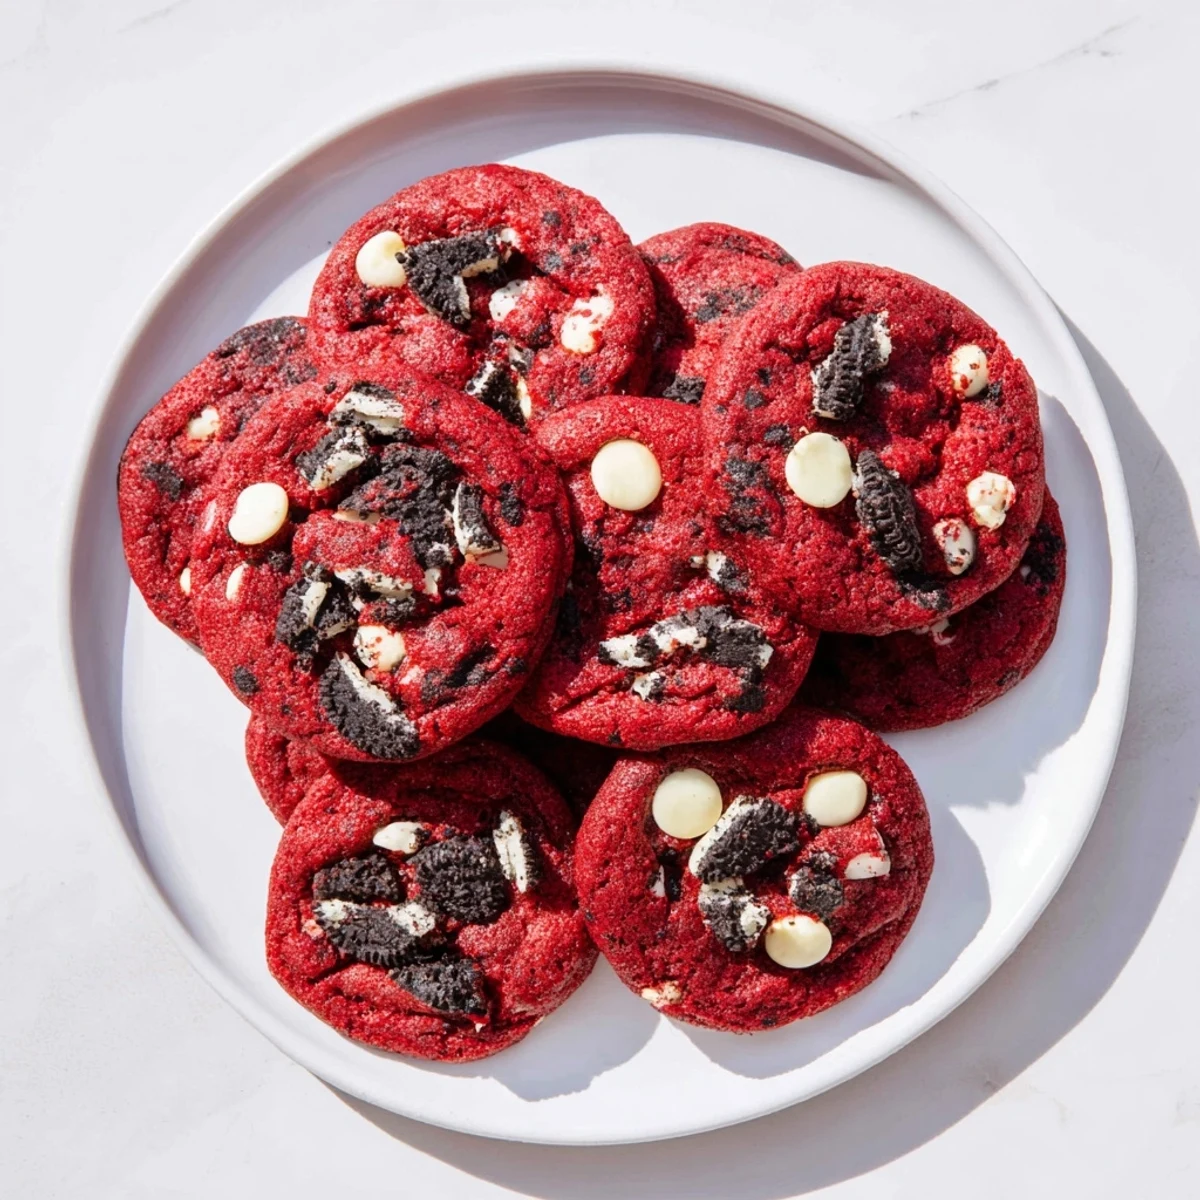
 These soft red velvet cookies combine rich cocoa flavor with the classic crunch of Oreo cookies. The dough achieves a vibrant red hue through gel food coloring, while white chocolate chips add creamy sweetness throughout. Baking at 350°F for 10-12 minutes creates perfectly chewy centers with crisp edges. Each cookie delivers that beloved cookies-and-cream experience in a homemade format. The recipe yields 24 generously sized treats, ideal for sharing or gifting during holidays and special occasions.
The first time I made these red velvet Oreo cookies was actually a total accident. I had planned to make regular chocolate chip cookies but spotted a lonely package of Oreos in the pantry and a bottle of red food coloring from my daughter's science project. The resulting batch disappeared so fast at our family game night that my brother actually hid three cookies in his pocket before leaving.
Last Christmas I made six dozen of these for our annual cookie exchange party. My neighbor asked for the recipe three times during the evening and I eventually just texted it to her while we were still eating dessert. The red color against the white chocolate chips makes them look like little holiday presents.
Ingredients
- 2 1/4 cups all-purpose flour: The foundation that gives these cookies their perfect chewy structure and substance
- 2 tbsp unsweetened cocoa powder: Just enough to deepen the flavor without overpowering the classic red velvet taste
- 1 tsp baking soda: Essential for achieving those beautifully puffy centers and slight crisp on the edges
- 1/2 tsp salt: Enhances the chocolate flavor and balances all that sweetness
- 1 cup unsalted butter softened: Room temperature butter incorporates air for that irresistibly soft texture we all love
- 3/4 cup light brown sugar packed: Adds moisture and creates those wonderful chewy pockets in every bite
- 1/2 cup granulated sugar: Helps create the slight crisp exterior while keeping centers tender
- 1 large egg plus 1 egg yolk: The extra yolk adds richness and helps achieve that fudgy middle texture
- 2 tsp vanilla extract: Pure vanilla makes all the difference in rounding out the chocolate flavor
- 2 tbsp milk: Just enough liquid to bring everything together without making the dough too sticky
- 1 tbsp red food coloring: Gel coloring gives the most vibrant red without affecting the dough consistency
- 1 cup white chocolate chips: Creamy white chocolate perfectly complements the cocoa and red velvet flavors
- 12 Oreo cookies roughly chopped: The real star adding that signature cookies and cream crunch throughout
Instructions
- Get everything ready:
- Preheat your oven to 350°F and line two baking sheets with parchment paper for easy cleanup later
- Mix the dry ingredients:
- Whisk together flour cocoa powder baking soda and salt in a medium bowl until well combined
- Cream the butter and sugars:
- Beat butter brown sugar and granulated sugar for 2 to 3 minutes until light and fluffy
- Add the wet ingredients:
- Mix in the egg egg yolk vanilla milk and red food coloring until everything is beautifully blended
- Combine everything:
- Gradually add your dry ingredients mixing just until no flour streaks remain
- Add the mix-ins:
- Gently fold in white chocolate chips and chopped Oreos being careful not to break them too much
- Scoop the dough:
- Drop rounded balls onto prepared sheets leaving about 2 inches between each cookie for spreading
- Bake to perfection:
- Bake 10 to 12 minutes until edges are set but centers still look slightly underdone
- Cool completely:
- Let them rest on the baking sheet for 5 minutes before moving to a wire rack
 Pin it
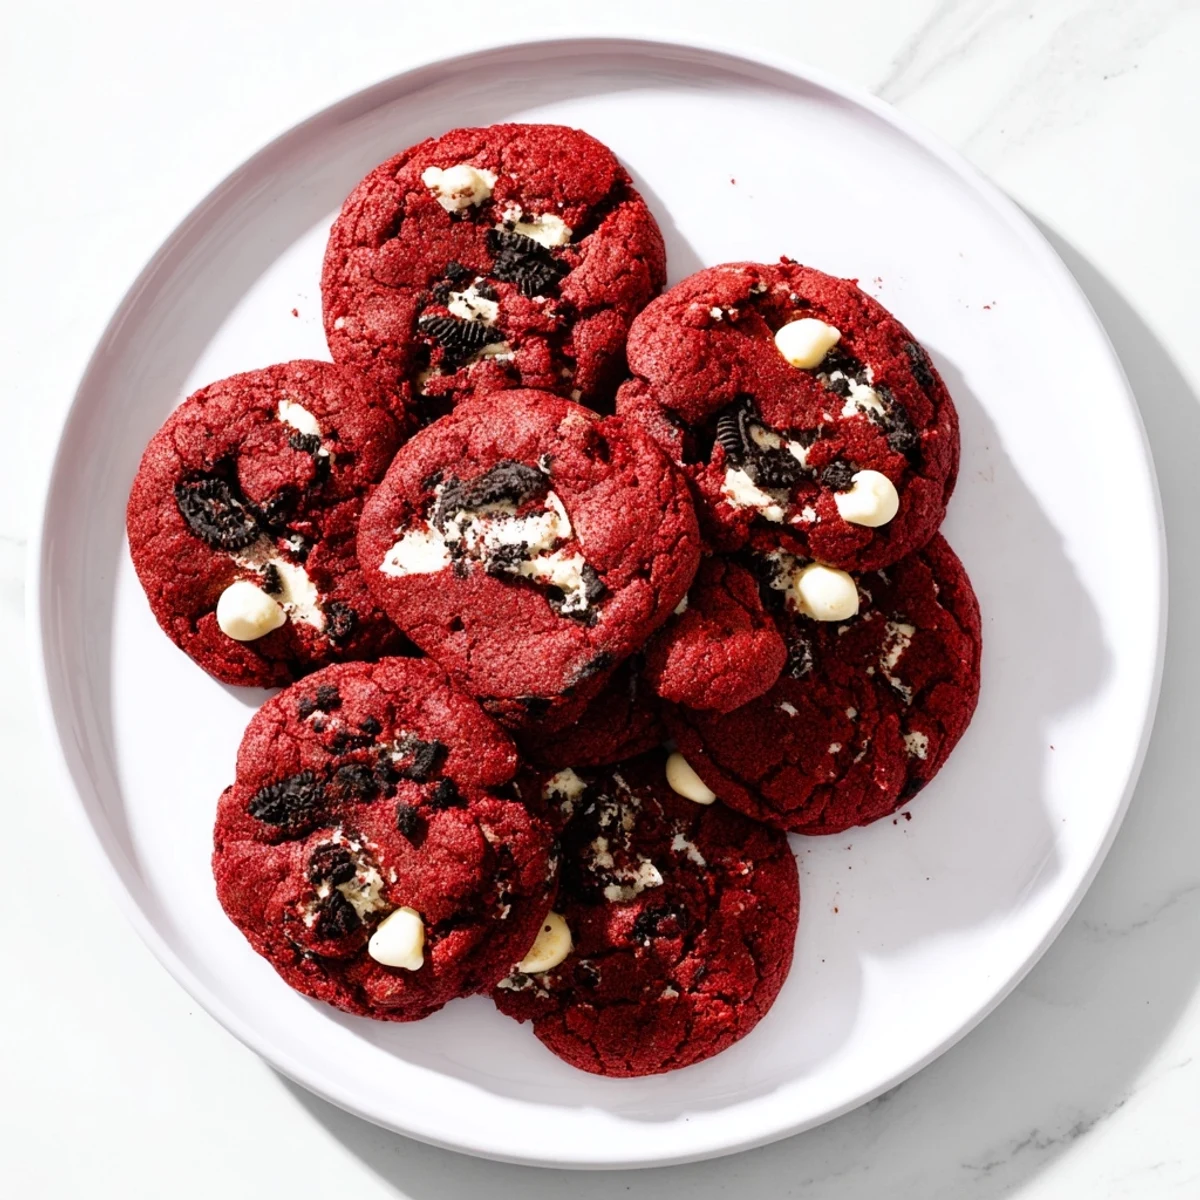
 These cookies have become my go-to for new neighbors and coworkers. Something about that red and white combination makes people feel celebrated before they even take a bite. Last month my daughter's teacher asked if I could make them for the staff appreciation luncheon.
Making Them Ahead
The dough freezes beautifully for up to three months so you can scoop it onto a baking sheet freeze the balls then transfer to a storage bag. Fresh baked cookies in twelve minutes whenever you need them. I actually prefer baking them from frozen because they stay thicker and develop even better edges.
Getting That Perfect Red
Gel food coloring is absolutely worth the small extra investment compared to liquid coloring. It gives you that vibrant rich red without adding excess liquid to your dough. Start with one teaspoon and add more until you reach your desired shade.
Customizing Your Cookies
While white chocolate is traditional these cookies are incredibly forgiving to customization. The base red velvet cookie pairs surprisingly well with dark chocolate chips for a more sophisticated flavor profile. Some of my friends prefer folding in Andes mint chips during December for a festive variation.
- Try pressing a whole Oreo into the top of each dough ball before baking for extra visual appeal
- For extra richness substitute half the white chocolate chips with cream cheese chunks
- Roll the tops in sprinkles before baking for birthday cake inspired versions
 Pin it
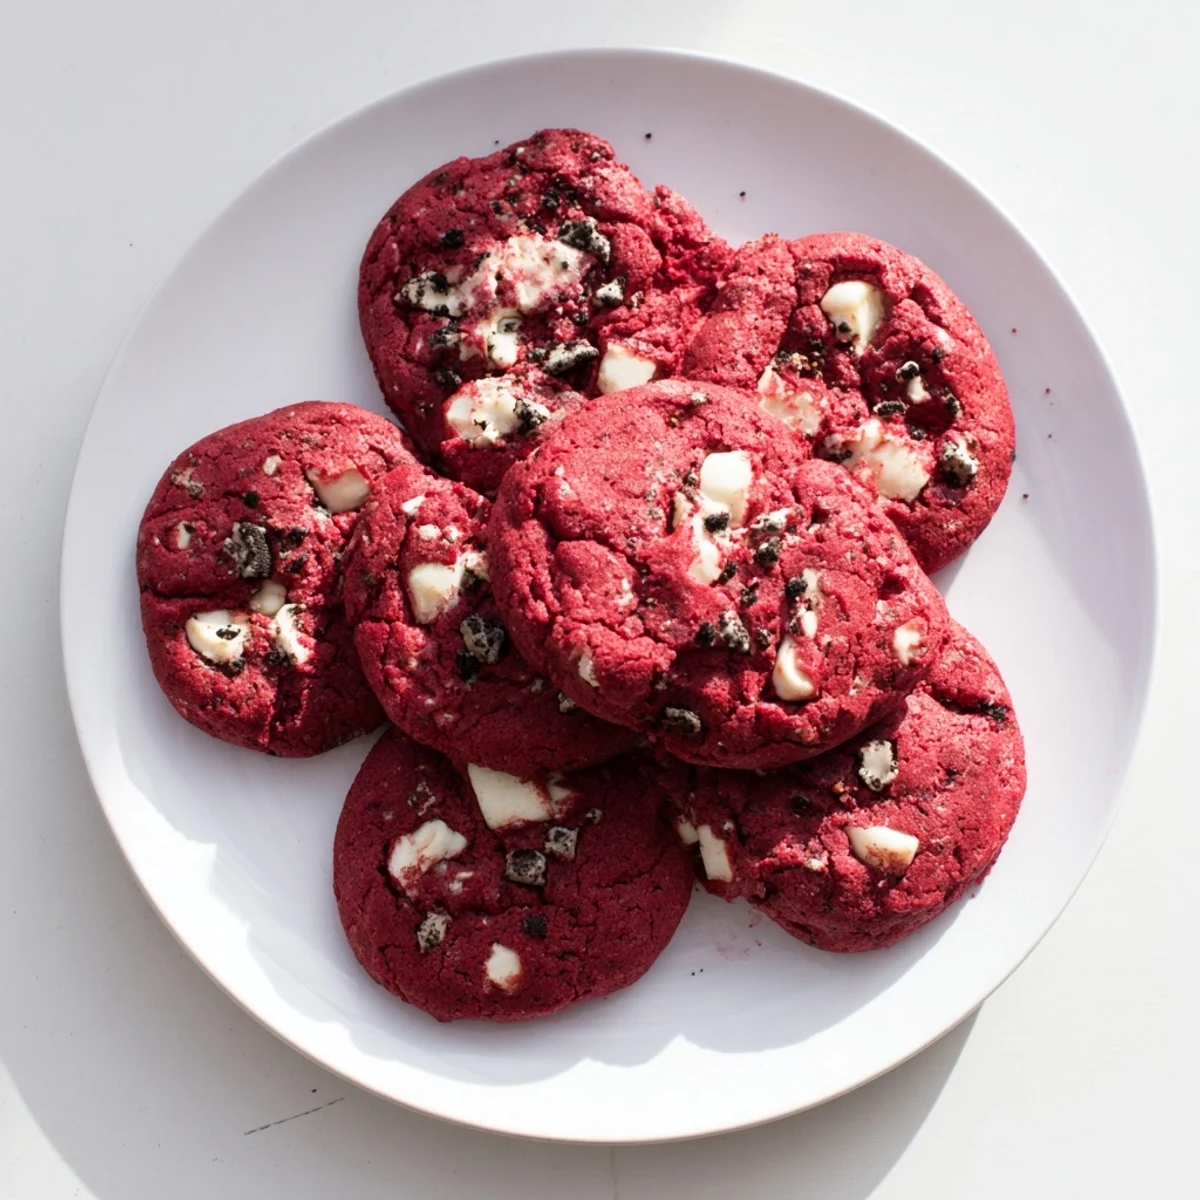
 There is something genuinely magical about biting into a warm red velvet Oreo cookie still slightly soft from the oven. The combination of flavors and textures just works in a way that makes people smile before they even realize they are doing it.
Recipe FAQs
- → Why do my red velvet cookies turn brown instead of red?
-
Brown cookies typically result from using liquid food coloring instead of gel. Gel coloring provides concentrated pigment without adding excess liquid. Natural cocoa powder also creates darker undertones than Dutch-processed varieties. Start with one tablespoon of gel and adjust as needed.
- → Can I make the dough ahead of time?
-
Absolutely. Scoop the dough onto a baking sheet and freeze until solid, then transfer to an airtight container. Frozen dough balls bake beautifully—add 1-2 minutes to the baking time. The dough keeps well in the freezer for up to three months.
- → What makes these cookies soft and chewy?
-
The combination of brown sugar and extra egg yolk creates moisture retention. Using softened butter rather than melted helps maintain structure. Pulling cookies from the oven while centers appear slightly underbaked ensures they stay tender after cooling.
- → Can I substitute the white chocolate chips?
-
Semisweet or dark chocolate chips work wonderfully and complement the cocoa base. Milk chocolate adds sweetness if desired. For a nutty variation, try chopped pecans or walnuts instead of chocolate. Just keep the total mix-in volume around two cups.
- → How should I store these cookies?
-
Keep completely cooled cookies in an airtight container at room temperature for up to five days. Place parchment paper between layers to prevent sticking. For longer storage, freeze baked cookies for up to three months and thaw at room temperature.
- → Why are my cookies spreading too much?
-
Warm dough causes excessive spreading. Chill the scooped dough for 15-20 minutes before baking if your kitchen is warm. Also verify your baking soda is fresh—expired leavening agents affect structure. Measuring flour correctly prevents thin, flat results.