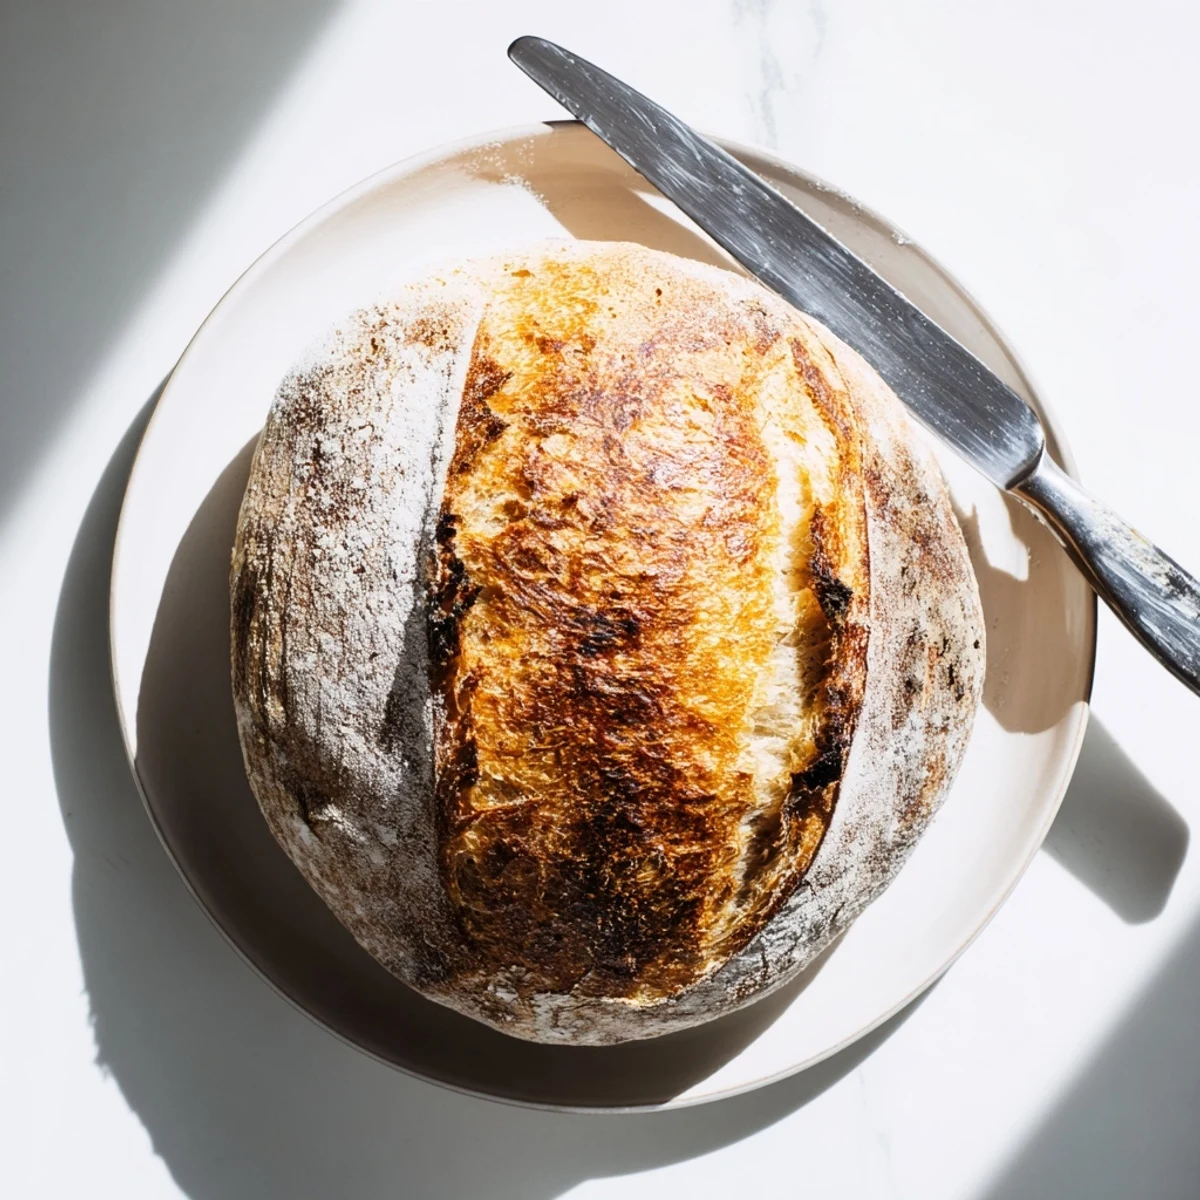
 Pin it
 This rustic bread develops its signature crackling crust through high-heat baking in a Dutch oven, creating steam that mimics professional baker ovens. The no-knead method relies on extended fermentation time to develop gluten structure and deep flavor naturally. Just four basic ingredients transform into bakery-quality loaves with minimal hands-on effort. Perfect for beginners seeking impressive results without specialized equipment or techniques.
There's something almost magical about a no-knead bread—this recipe literally changed how I think about homemade baking forever. My kitchen was filled with the most incredible yeasty aroma after letting that shaggy dough sit overnight, and I kept lifting the towel to check if it was actually working. That first crackle when I cut into the golden crust made my entire week.
I brought this loaf to a friends house last winter when I was running late and had nothing else prepared. Everyone literally stopped talking when I tore into that crackling crust at the table, and the butter melted into warm crevices like something out of a food magazine. Now they specifically request this bread for every gathering.
Ingredients
- All-purpose flour: The workhorse flour that gives this bread structure without needing bread flour
- Salt: Enhances flavor and helps control yeast activity
- Instant yeast: No proofing needed, just mix it right in with the dry ingredients
- Lukewarm water: Should feel like bath temperature, activating the yeast without killing it
Instructions
- Mix the dough:
- Combine flour, salt, and yeast in a large bowl, then add water and stir until you have a sticky, shaggy mess that looks completely wrong
- Let it rise:
- Cover the bowl and walk away for 12 to 18 hours while the yeast does all the work for you
- Shape the dough:
- Turn the bubbly dough onto a floured surface, fold it gently into a rough ball, and let it rest on parchment paper
- Preheat with the pot:
- Heat your Dutch oven in a 450°F oven for at least 30 minutes so it's screaming hot
- Bake covered:
- Carefully lower the dough into the hot pot, cover, and bake for 30 minutes to create steam
- Finish the crust:
- Remove the lid and bake another 10 to 15 minutes until deep golden brown, then cool completely
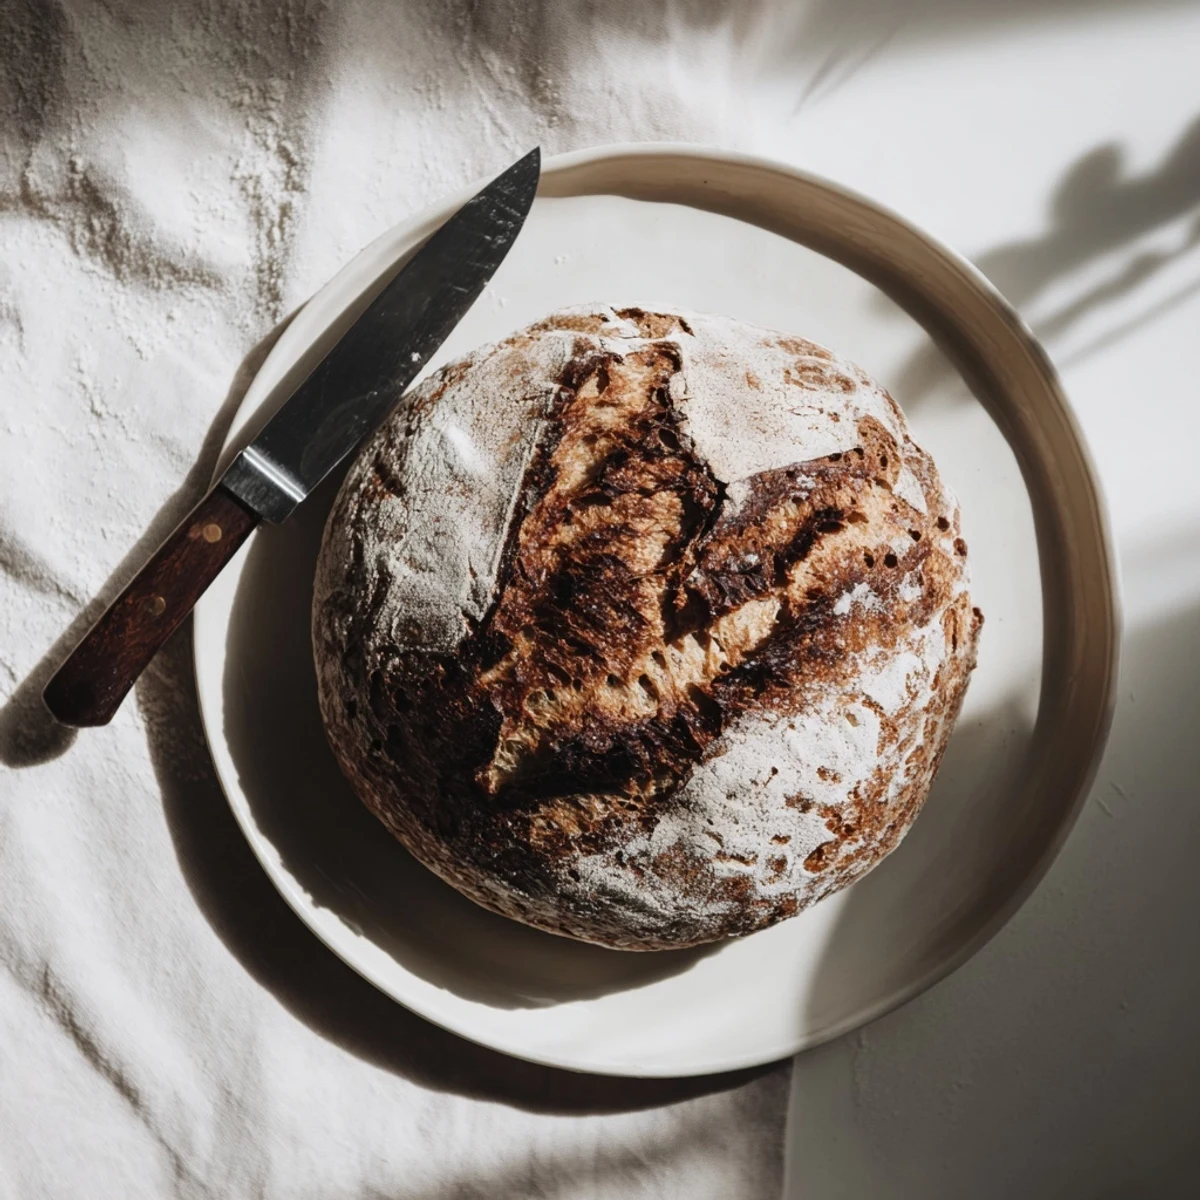 Pin it
 This bread became my go-to during a really stressful month when I needed something reliable and comforting to make. The ritual of mixing it before bed and baking it in the morning became such a peaceful part of my routine that I kept making it long after things settled down.
Getting The Best Crust
The Dutch oven method works by trapping steam from the dough itself, which keeps the crust soft initially while the oven spring happens. Then when you remove the lid, that crust dries out and transforms into something beautifully crackled and golden.
Timing Your Bake
I've found that mixing the dough in the evening works perfectly for an overnight rise. That way you can bake first thing in the morning, and your whole house smells incredible while coffee is brewing.
Customization Ideas
The basic dough is just begging for your personal touch, though I'd recommend mastering the plain version first. Once you have that down, the variations are endless.
- Try adding roasted garlic cloves or fresh rosemary to the flour mixture
- Kalamata olives or sun-dried tomatoes make this feel incredibly fancy
- Swap a cup of flour for whole wheat for a heartier, nuttier version
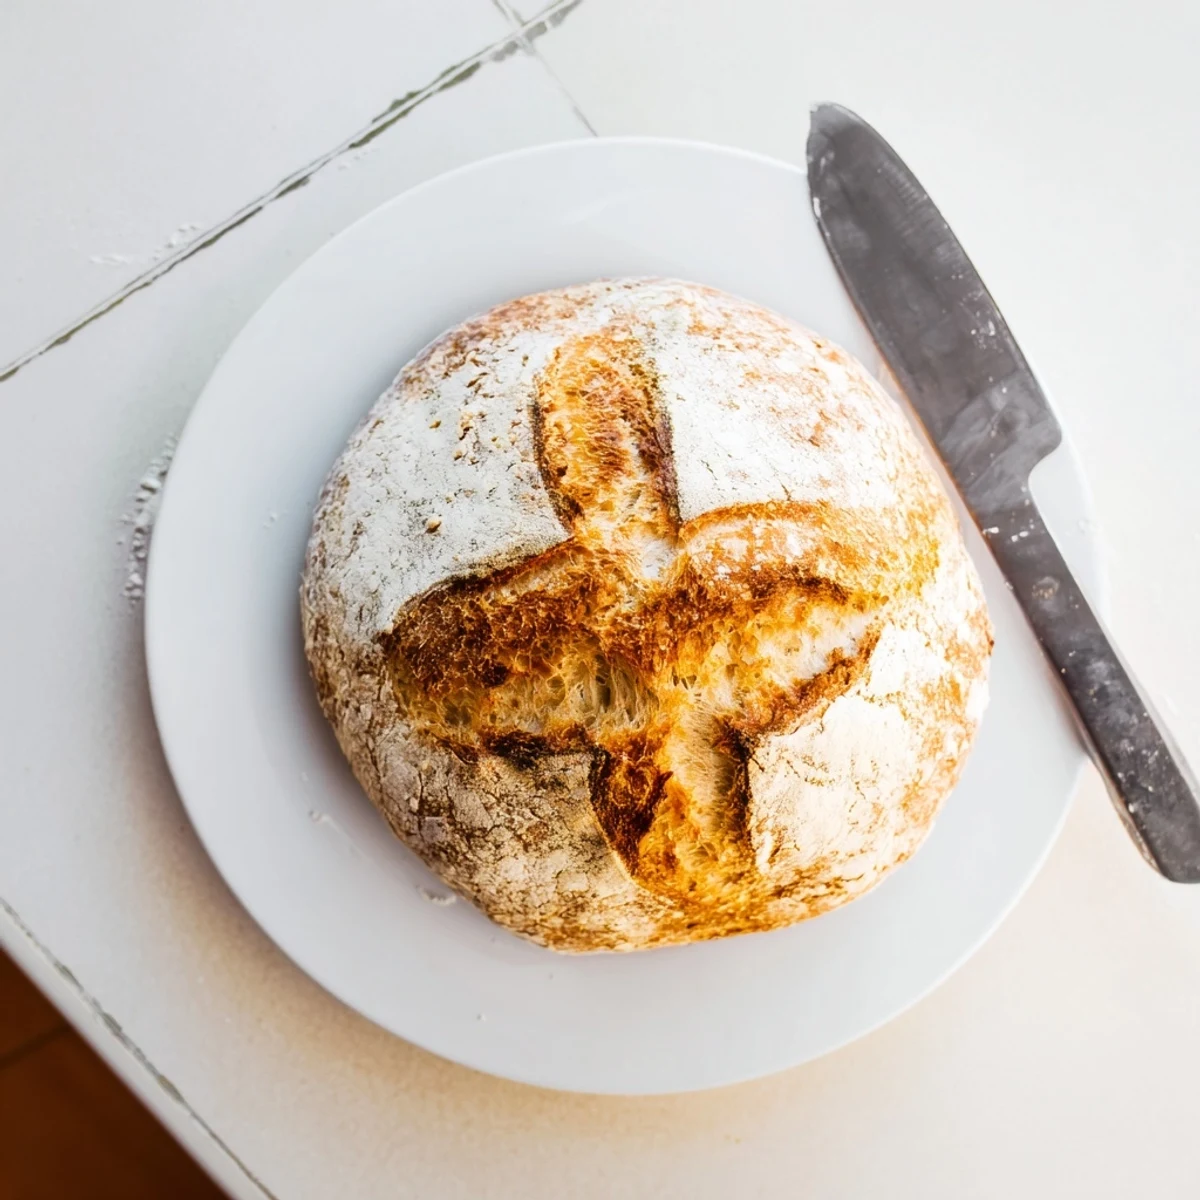 Pin it
 There's nothing quite like tearing into a warm homemade bread that you made with your own hands. Happy baking, friend.
Recipe FAQs
- → Why bake in a Dutch oven?
-
The Dutch oven traps steam during baking, creating the crispy crackling crust and airy interior characteristic of artisan breads. This mimics professional steam-injected ovens.
- → Can I shorten the rising time?
-
The long fermentation develops flavor and texture naturally. Reducing rise time will produce denser bread with less complex taste. Plan ahead for best results.
- → How do I know when it's done baking?
-
The crust should be deep golden brown, and the bottom should sound hollow when tapped. An instant thermometer inserted into the center should read 200-205°F.
- → Can I use whole wheat flour?
-
Substitute up to half the all-purpose flour with whole wheat. Keep in mind whole wheat absorbs more water, so you may need to add additional liquid.
- → Why must the bread cool before slicing?
-
Slicing while hot releases steam, causing the interior to become gummy and dense. Cooling allows the crumb structure to set properly for ideal texture.
- → Can I freeze this bread?
-
Yes, wrap cooled loaves tightly in plastic and freeze for up to 3 months. Thaw at room temperature, then refresh in a 350°F oven for 10 minutes to restore crispness.