 Pin it
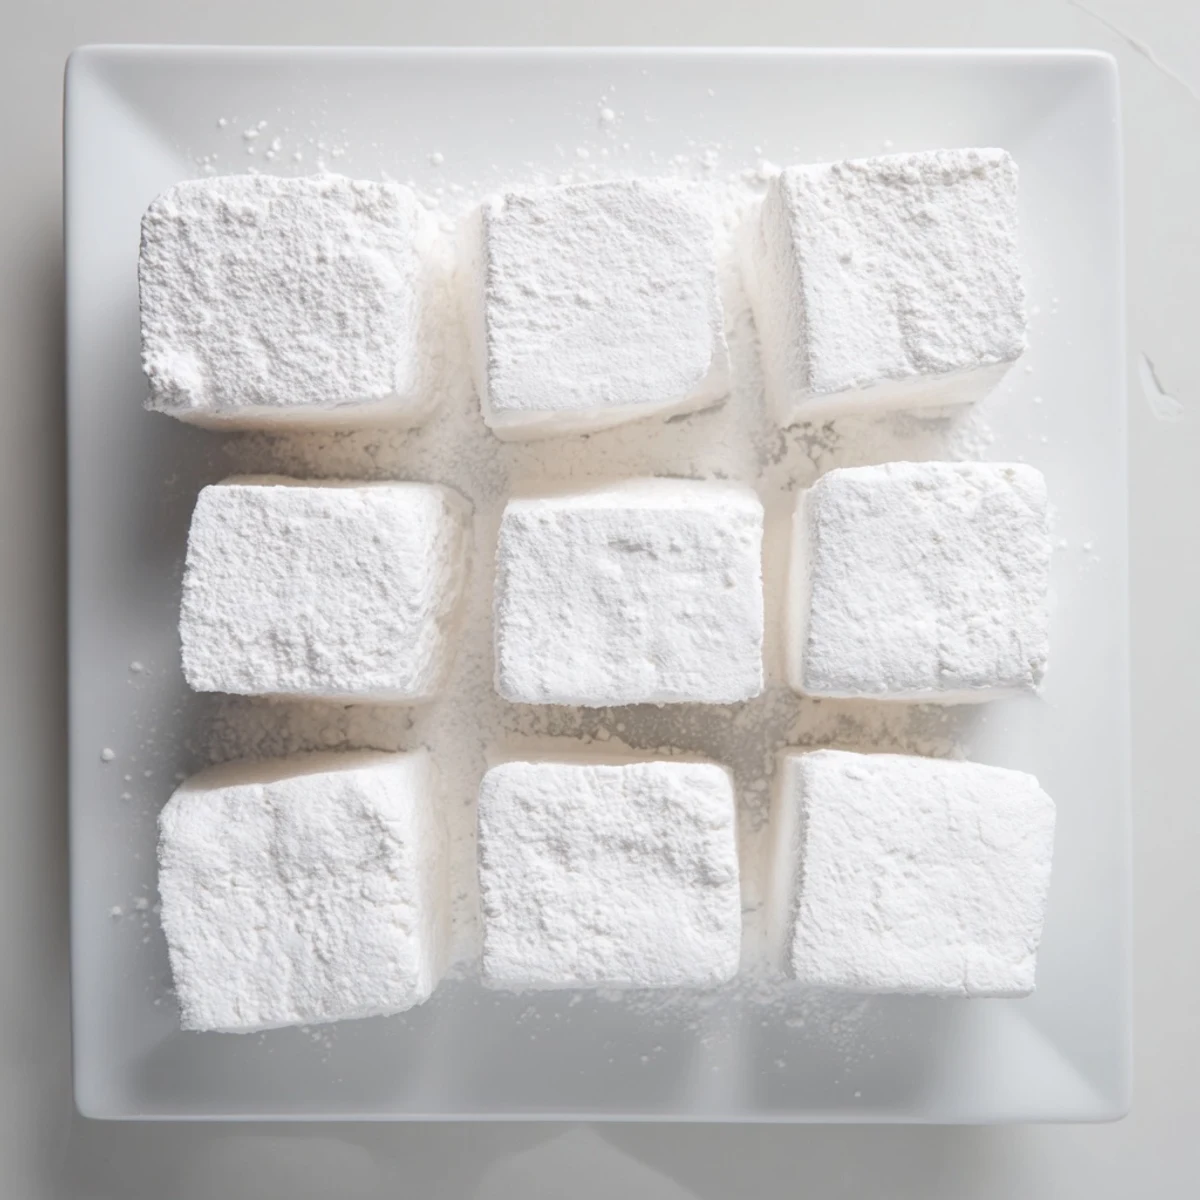
 Create pillowy-soft marshmallows in your own kitchen using a simple sugar syrup technique. This beloved American confection combines granulated sugar, corn syrup, and unflavored gelatin whipped to fluffy perfection. After setting overnight, cut into squares and coat with a dusting of confectioners sugar and cornstarch. These versatile treats elevate hot chocolate, transform into s'mores, or make thoughtful handmade gifts. Customize with different extracts or colors for holidays and special occasions.
The first time I made marshmallows, I stood there staring at my mixer in absolute disbelief. This white fluff was growing, actually GROWING, right before my eyes, climbing up the whisk attachment like something alive. My kitchen smelled like pure sugar heaven and I kept poking the mixture with my finger, convinced Id made some terrible mistake because surely candy wasnt supposed to be this easy or this fun.
Last winter, I made three batches for a hot chocolate bar at my daughters birthday party. The kids kept sneaking into the kitchen to steal them straight from the cutting board, fingers sticky with powdered sugar, faces smeared white. By the time the party actually started, Id had to make another batch just to ensure thered be any left for the cocoa.
Ingredients
- Granulated sugar: The backbone of your marshmallow structure, dont try to reduce this or youll end up with a sticky sad puddle instead of fluffy perfection
- Light corn syrup: Prevents crystallization and keeps your marshmallows soft and chewy instead of turning into hard sugar rocks
- Unflavored gelatin: The magic ingredient that transforms sugar syrup into airy, puffable clouds, and yes you need all three packets
- Pure vanilla extract: Adds that classic marshmallow flavor, but feel free to experiment with peppermint during holiday season
- Confectioners sugar and cornstarch: This coating is absolutely essential, without it your marshmallows will fuse into one giant impossible to separate blob
Instructions
- Get your pan ready first:
- Mix equal parts confectioners sugar and cornstarch, then grease your 9x9 pan and dust it generously with this mixture
- Bloom your gelatin:
- Combine the gelatin packets with cold water in your stand mixer bowl and let it sit while you make the syrup, it will turn into a weird rubbery mass and thats completely normal
- Make the sugar syrup:
- Combine sugar, corn syrup, water and salt in a saucepan, stir until dissolved, then bring to 240°F without stirring
- The magic moment:
- With mixer running on low, pour that screaming hot syrup into the gelatin, then gradually crank it up and whip for 10-12 minutes until its tripled in volume
- Add flavor and spread:
- Toss in vanilla during the last minute of mixing, then quickly scrape into your prepared pan because this stuff sets up fast
- Wait patiently:
- Let them sit uncovered for at least 4 hours or overnight, rushing this step results in marshmallows that are gummy instead of fluffy
- Cut and coat:
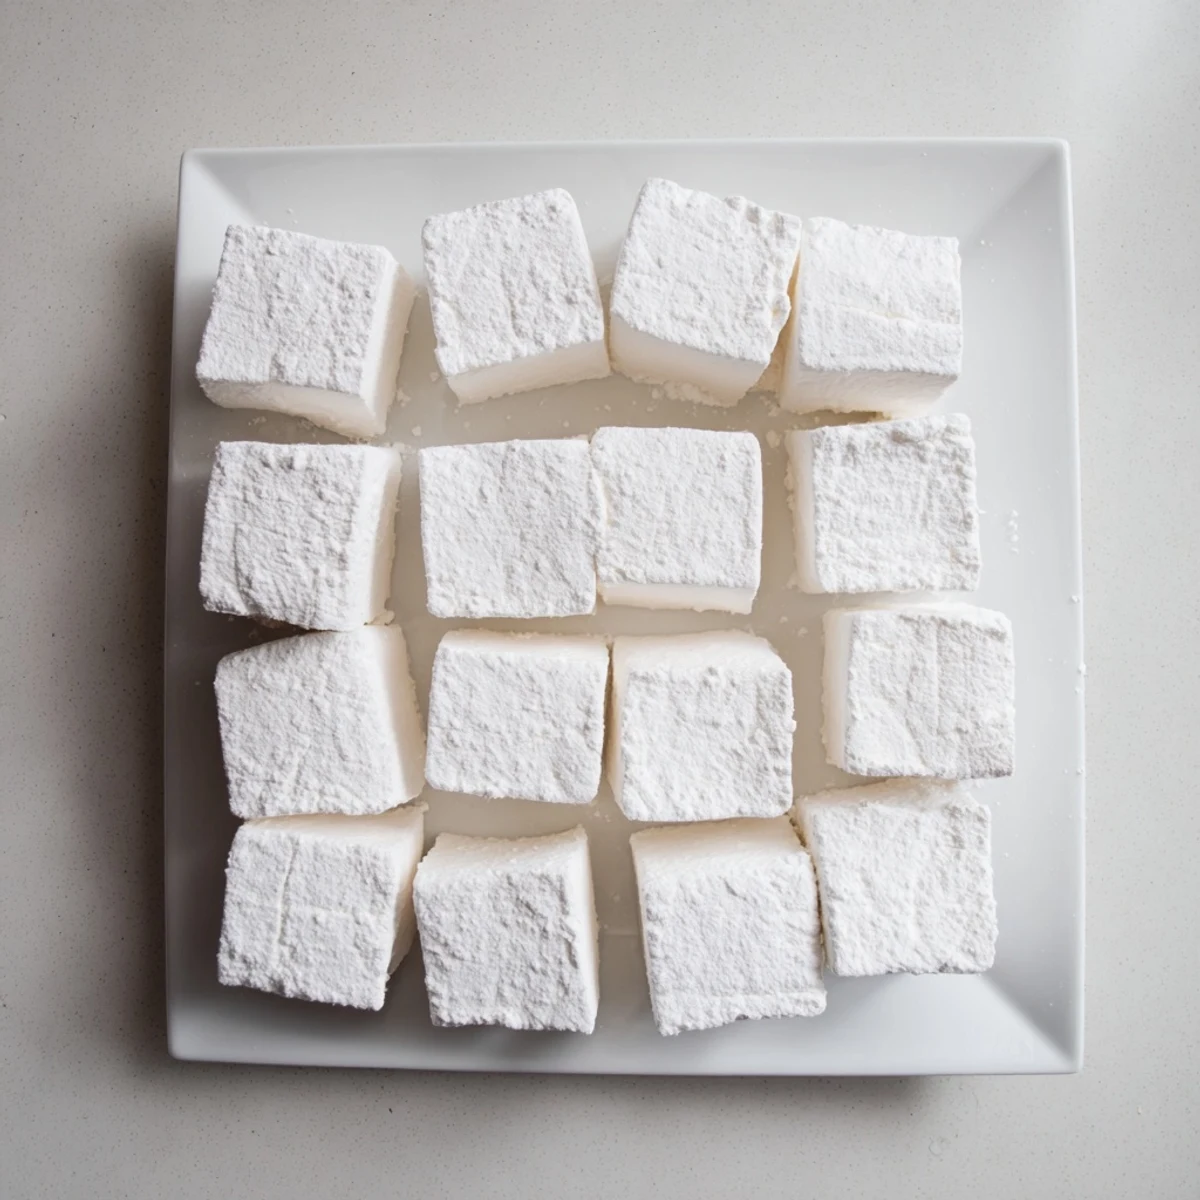
- Dust everything with more sugar mixture and cut into squares with a pizza cutter, tossing each piece in the coating so they dont stick together
 Pin it
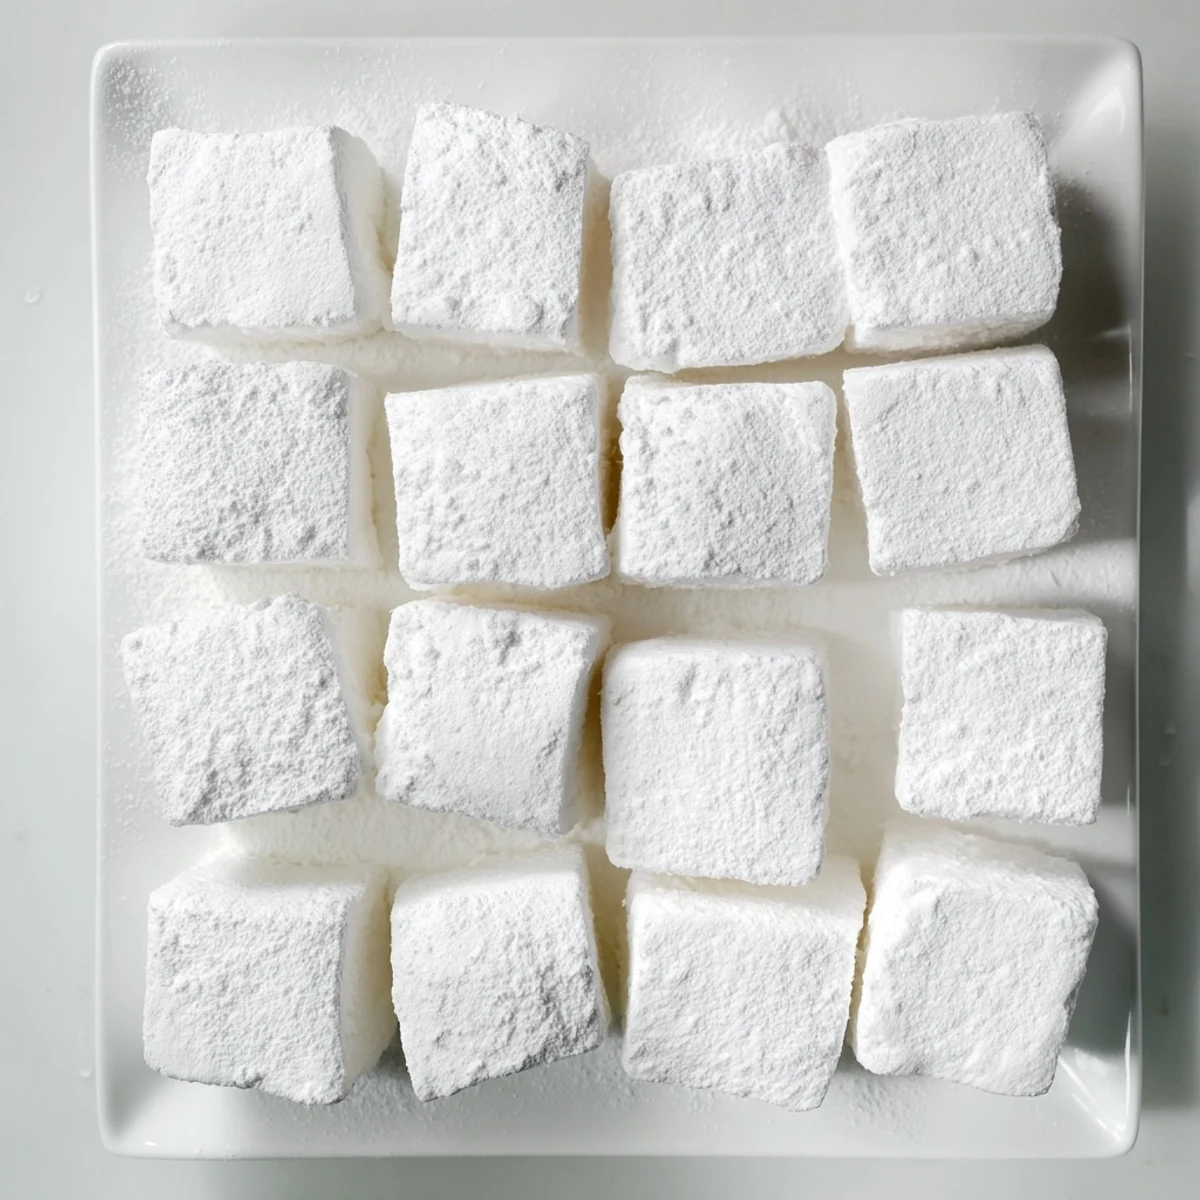
 My neighbor now requests these for every holiday gathering, and Ive learned to always double the batch. Theres something genuinely magical about placing a homemade marshmallow in someones hot chocolate and watching them realize that marshmallows arent supposed to taste like rubber.
Flavor Adventures
Peppermint extract transforms these into holiday magic, especially when you add red food coloring during that final minute of mixing. Almond extract makes them taste like something from a fancy French bakery. Ive even experimented with coconut extract and rolled them in toasted coconut for tropical vibes.
Storage Secrets
These actually get better after a day or two, developing a slightly chewier exterior while staying fluffy inside. Store them in an airtight container with a piece of parchment paper between layers if you need to stack them. They last about a week, though in my house they barely last 24 hours.
Serving Ideas
These elevate s'mores to something truly special, creating a melty, gooey experience that makes store marshmallows seem sad. I also love cutting them into larger rectangles for rice krispie treats that will ruin you for boxed versions forever.
- Dip half in melted chocolate for gifts that look like you spent hours
- Cut them into fun shapes with cookie cutters for birthday parties
- Keep a batch in your pantry for emergency hot chocolate moments
 Pin it
 Every time I make these, I'm reminded that the best kitchen projects are often the simplest ones, taking humble ingredients and turning them into something that feels like pure magic.
Recipe FAQs
- → How long do homemade marshmallows need to set?
-
Allow marshmallows to set at room temperature for at least 4 hours, though overnight setting yields the best texture and cutting results.
- → Can I make marshmallows without a stand mixer?
-
A stand mixer works best for achieving proper volume, though a powerful hand mixer with a whisk attachment can be used. Expect slightly longer whipping time.
- → What's the best way to prevent marshmallows from sticking?
-
Dust your knife, cutting surface, and hands generously with the confectioners sugar and cornstarch mixture. This coating prevents the sticky surface from adhering to everything.
- → How should I store homemade marshmallows?
-
Keep in an airtight container at room temperature for up to one week. Avoid refrigeration as moisture makes them sticky. Separate layers with parchment paper if stacking.
- → Can I substitute corn syrup in marshmallows?
-
Corn syrup prevents crystallization and creates the proper texture. Golden syrup, glucose syrup, or honey can work but may alter flavor slightly and affect the final consistency.
- → Why did my marshmallows turn out dense or rubbery?
-
Insufficient whipping time, syrup temperature that's too low, or humidity can affect texture. Ensure syrup reaches 240°F and whip for the full 10-12 minutes until tripled in volume.