 Pin it
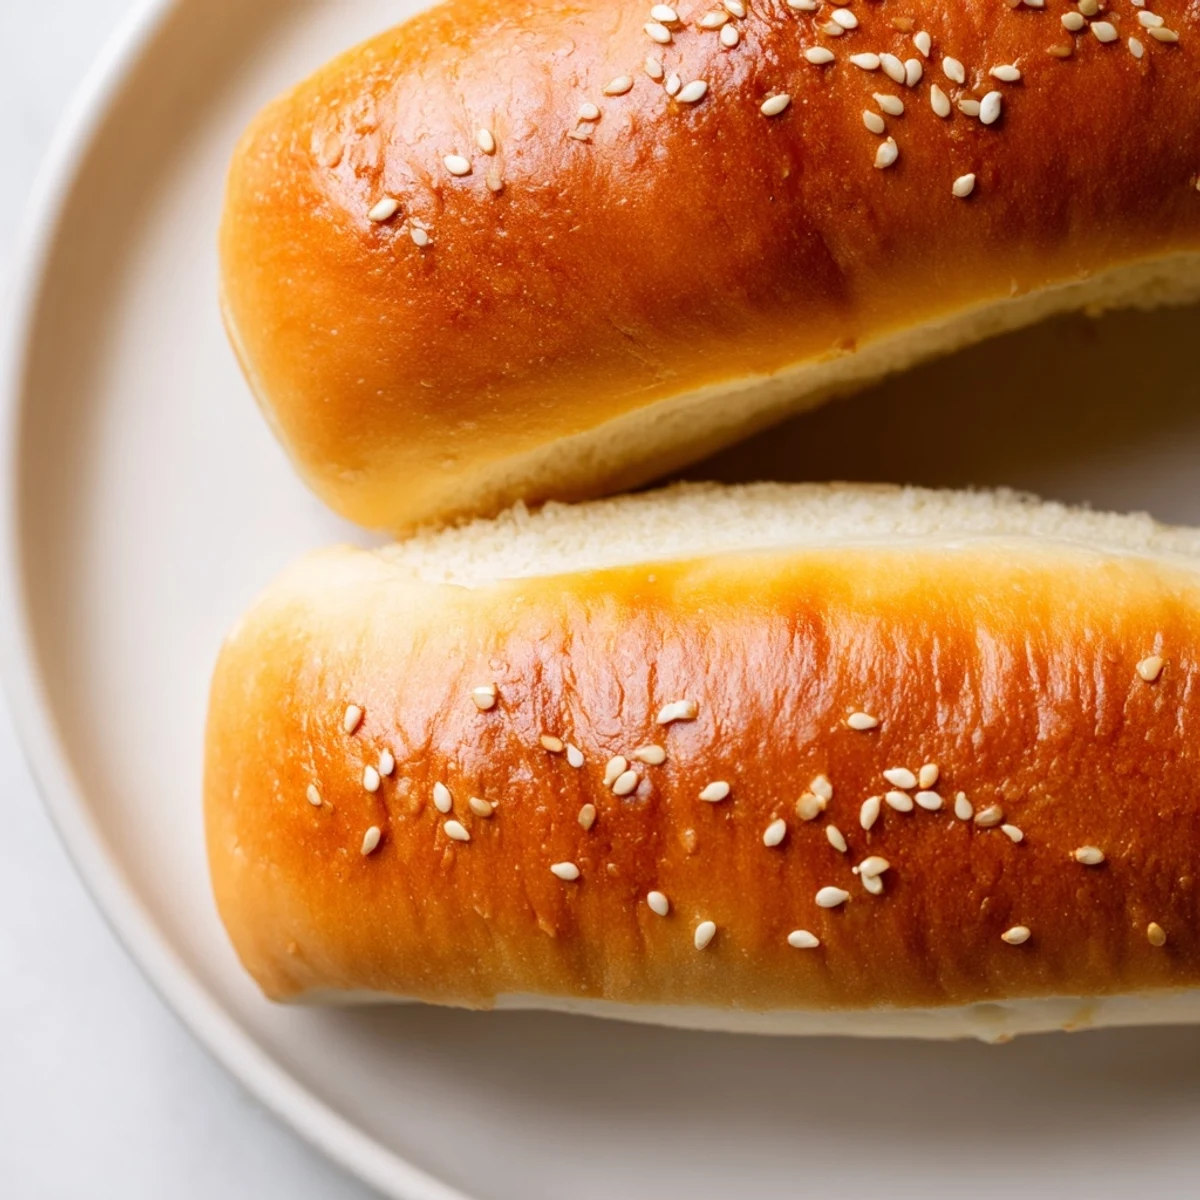
 Create bakery-quality hot dog buns using your sourdough discard for incredible flavor and texture. These soft, golden rolls feature a tender interior with just the right amount of chew, plus a subtle tangy depth that elevates any topping combination.
The dough comes together quickly with pantry staples, requiring just two rise periods to develop that pillowy structure. Brushing with melted butter after baking creates an irresistibly soft crust, while optional sesame or poppy seeds add classic diner appeal.
Yield eight generous buns—ideal for freezing extras or feeding a hungry crowd at your next gathering.
Last summer, my neighbor texted at noon asking if I had any buns for an impromptu barbecue. I had everything but the buns, and the store was out of those fluffy ones everyone loves. That afternoon became a revelation—sourdough discard makes the most incredible hot dog buns, with a depth you can't get from store-bought bread.
My daughter took one bite during that barbecue and asked why our hot dogs never tasted this good before. It was the bun, plain and simple. Now she requests these specifically whenever we fire up the grill, and honestly, I can't blame her.
Ingredients
- Sourdough discard: Use unfed starter straight from the fridge for that characteristic tang
- Warm milk: Should feel like bath temperature to activate the yeast without killing it
- Unsalted butter: Melted and slightly cooled so it doesn't scramble the egg
- Sugar: Feeds the yeast and helps the buns develop that gorgeous golden crust
- Large egg: Adds richness and helps the dough hold its shape during rising
- Salt: Essential for flavor, but don't add it directly to the yeast mixture
- All-purpose flour: Start with less and adjust until the dough feels right
- Instant yeast: No proofing needed, which saves precious time
- Milk and butter for brushing: This final step creates that bakery shine and soft crust
- Seeds or seasoning: Completely optional but makes them look professionally made
Instructions
- Wake up the yeast:
- Combine warm milk and sugar in a large bowl, then sprinkle yeast on top. Wait until tiny bubbles appear across the surface, about 3 to 5 minutes, like a tiny foam party in your bowl.
- Build the dough foundation:
- Add sourdough discard, melted butter, egg, and salt to the yeast mixture. Stir until everything's blended and the mixture looks uniform.
- Bring it together:
- Gradually add flour one cup at a time, mixing after each addition. Stop when you have a soft, slightly tacky dough that holds together but still feels pleasant to touch.
- Develop the gluten:
- Knead on a floured surface for 7 to 8 minutes until the dough transforms from shaggy to smooth and elastic. It should bounce back when you poke it.
- First rise:
- Place dough in a greased bowl, cover, and find a warm spot. Let it double in size, which takes roughly 1 to 1.5 hours depending on your kitchen temperature.
- Shape the buns:
- Punch down gently and divide into 8 equal pieces. Roll each into a 6-inch log, tucking the edges underneath to create smooth, tight cylinders.
- Second rise:
- Arrange on parchment with space between each bun. Cover and let rise until puffy, about 30 to 45 minutes. They should look pillowy and slightly jiggly.
- Bake to golden:
- Brush with milk, add seeds if using, then bake at 375°F for 18 to 20 minutes until deeply golden. Brush immediately with melted butter for that soft, tender finish.
 Pin it
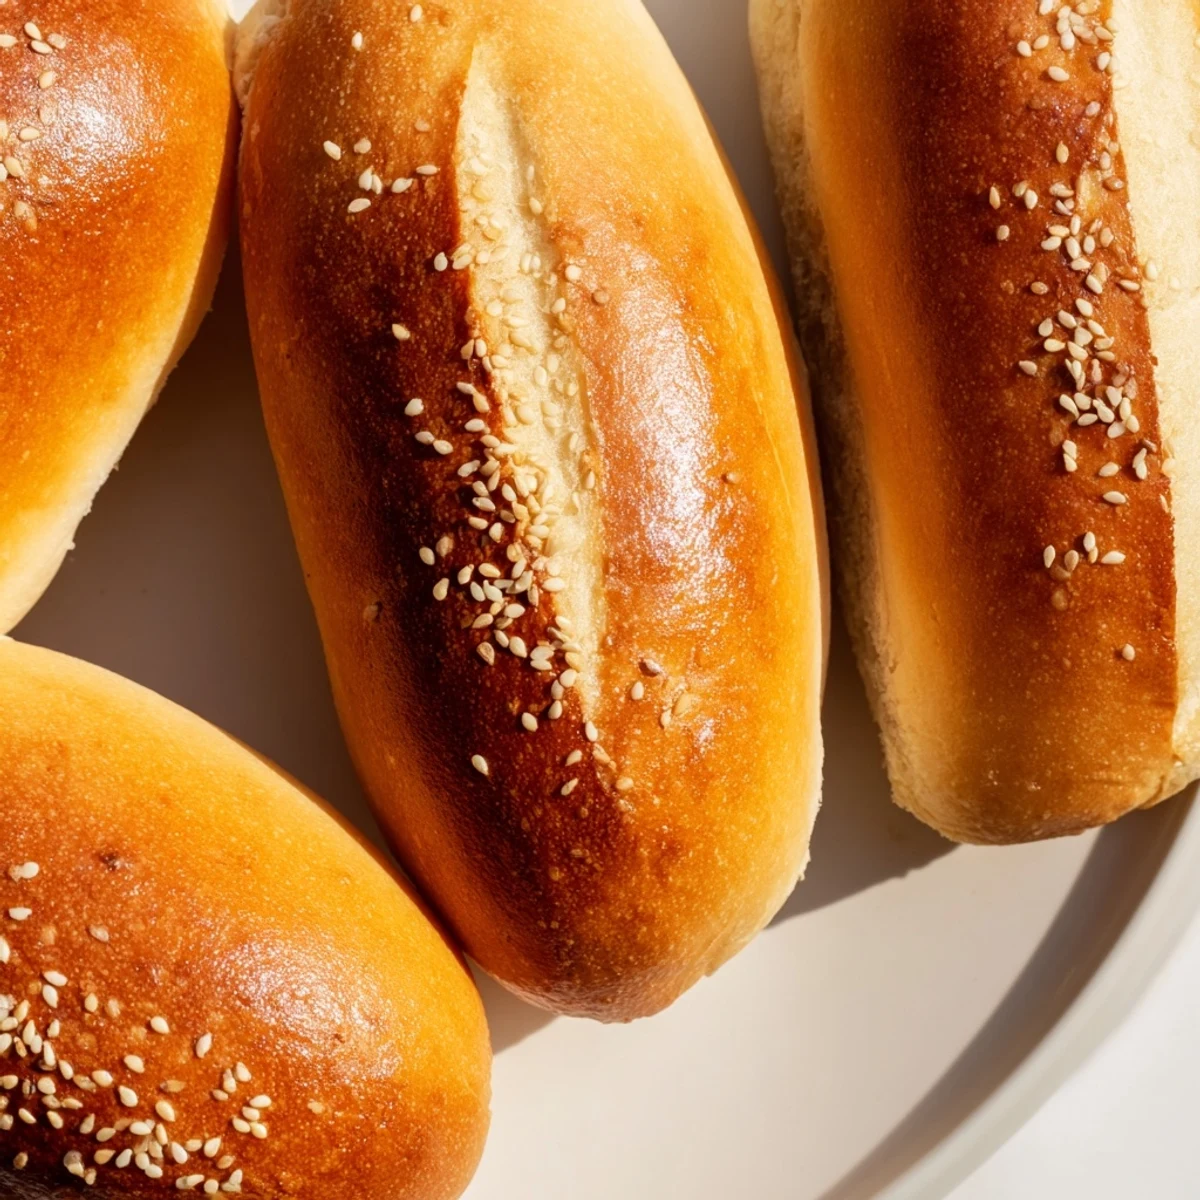
 These buns have transformed our summer cookouts from ordinary into something people actually talk about afterward. There's something deeply satisfying about serving food where every component, even the bread, feels considered and special.
Making Them Ahead
I often shape the buns the night before and let them do their second rise in the refrigerator. The cold fermentation develops even more flavor, and you can pop them straight into the oven when guests arrive.
Freezing Extra Buns
Wrap cooled buns individually in plastic, then place them in a freezer bag. They thaw beautifully on the counter for an hour or can be warmed directly in a 350°F oven for 10 minutes.
Perfect Shaping Technique
The key to uniform buns is using a kitchen scale to divide the dough equally. When rolling, apply gentle pressure with the heels of your hands while rolling outward, then tuck and pinch the seam underneath for a smooth top.
- Work quickly once shaping begins so the first buns don't overproof
- If dough resists rolling, let it rest for 5 minutes and try again
- A lightly floured surface prevents sticking without drying out the dough
 Pin it
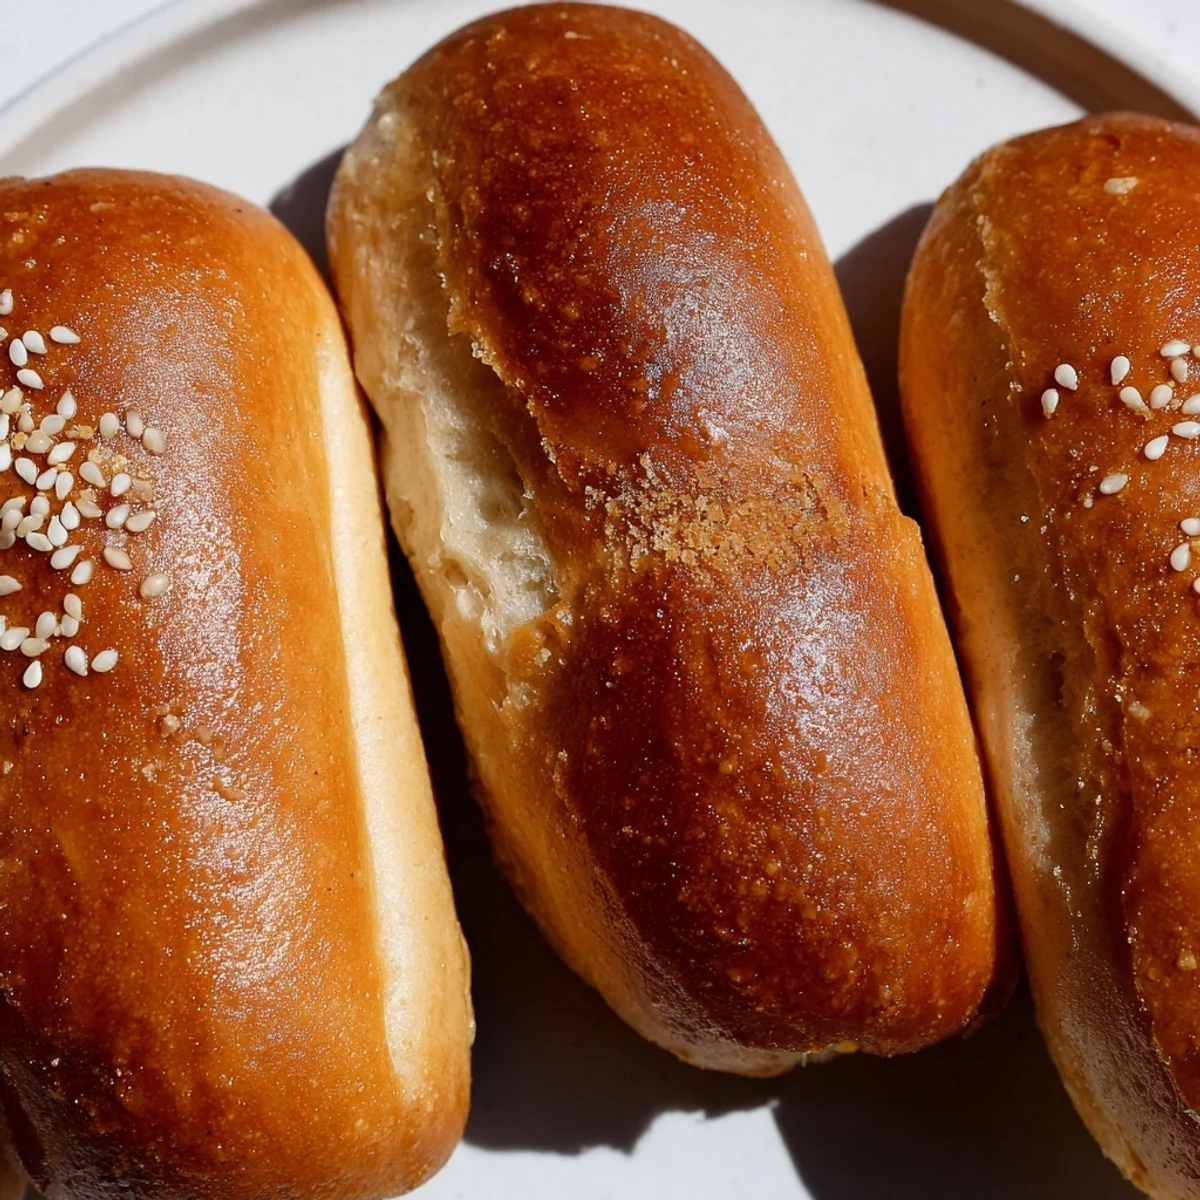
 There's something magical about pulling a batch of these from the oven, the kitchen filled with that unmistakable bread smell. These buns will make every hot dog taste like it came from a specialized bakery.
Recipe FAQs
- → Can I make these buns without sourdough discard?
-
Yes, simply substitute the discard with equal parts flour and water. Increase the yeast by ½ teaspoon to maintain proper rising power, though you'll lose the characteristic tangy flavor.
- → Why is my dough too sticky or dry?
-
Flour absorption varies by brand and humidity. Start with 3 ¾ cups, adding more only until the dough pulls away from the bowl sides while remaining slightly tacky. Over-flouring creates dense buns.
- → Can I freeze the shaped buns before baking?
-
Absolutely. Place shaped, unbaked buns on a parchment-lined tray and freeze until solid. Transfer to a freezer bag for up to 3 weeks. Thaw overnight in the refrigerator, then complete the final rise and bake as directed.
- → What's the purpose of brushing with butter after baking?
-
Hot butter absorbs into the crust, creating a softer, more tender surface. This traditional bakery technique prevents the buns from becoming overly crisp or hard during cooling.
- → How do I know when the buns are fully baked?
-
Look for deep golden-brown color on top and bottom. The internal temperature should reach 190–200°F on an instant-read thermometer. Tapping the bottom should produce a hollow sound.