 Pin it
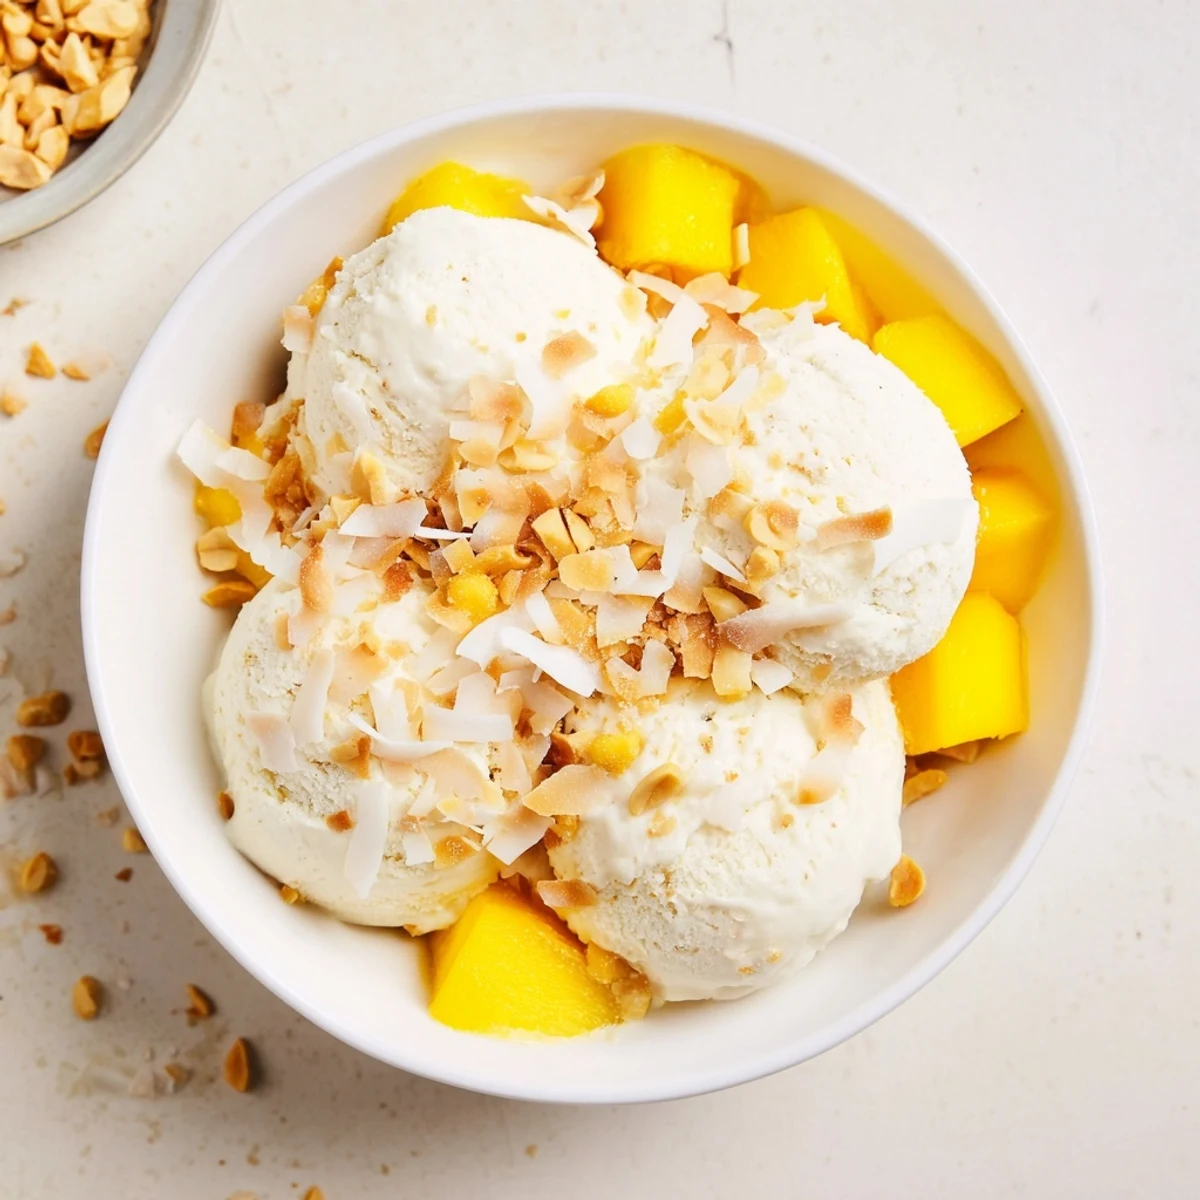
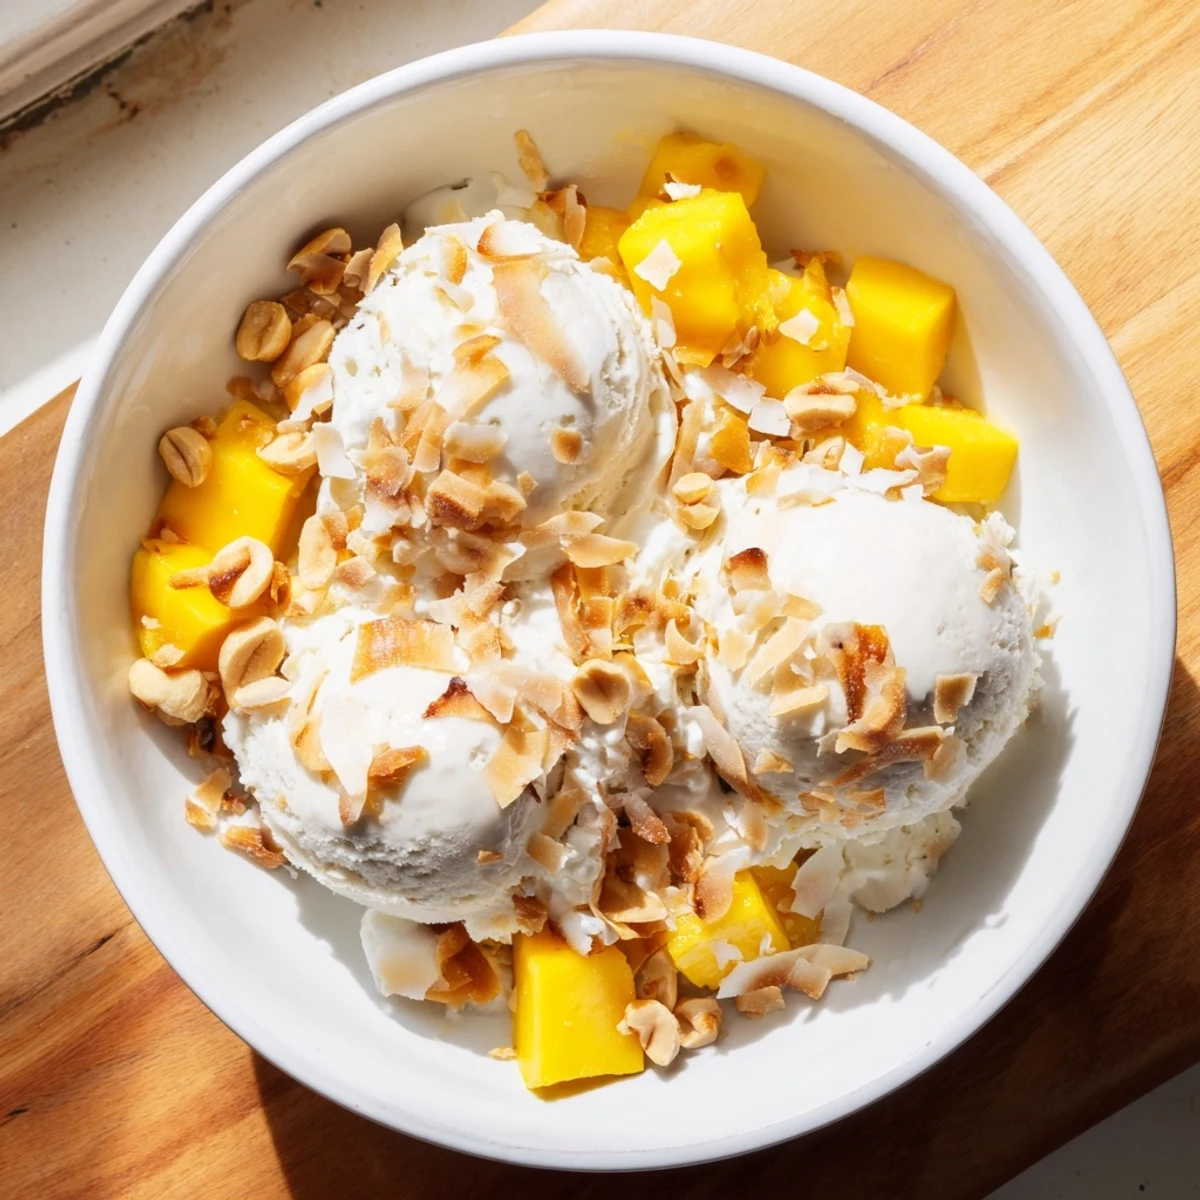
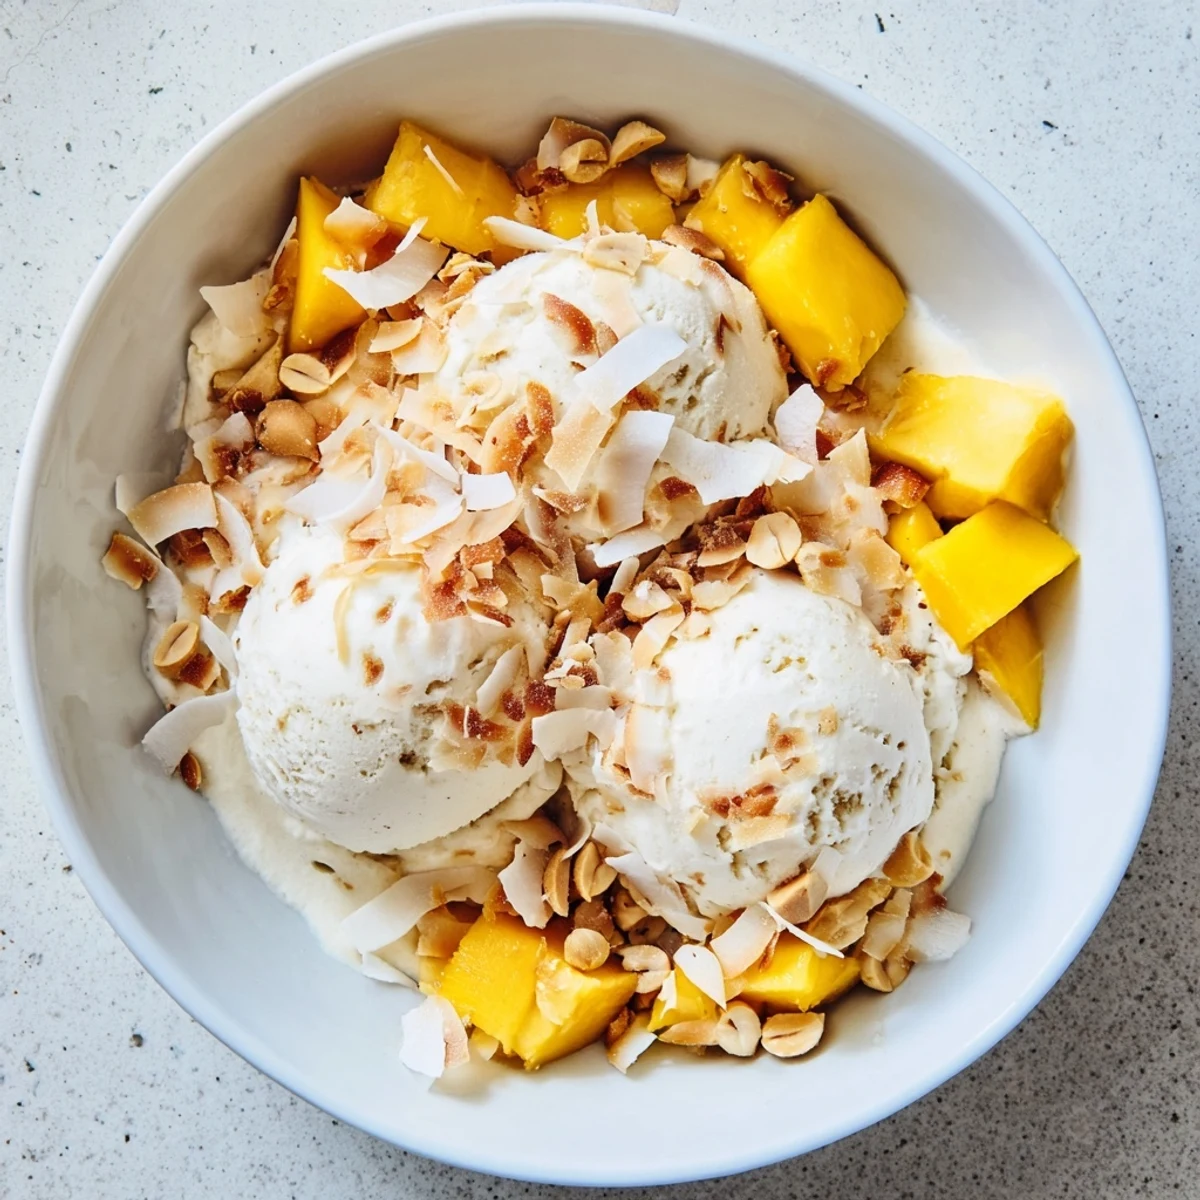
 Experience the luscious creaminess of Thai-inspired coconut milk ice cream, a dairy-free frozen dessert that delivers rich tropical flavor with just a hint of vanilla. This straightforward method combines full-fat coconut milk and cream for an ultra-smooth texture, perfect for those seeking plant-based frozen treats.
The process involves heating the coconut base to dissolve sugar, followed by thorough chilling before churning. The result is a velvety scoopable dessert that captures authentic Thai street food vibes. Customizable with toasted coconut flakes, roasted peanuts, or fresh mango pieces for added texture and flavor variations.
The afternoon I discovered coconut milk ice cream was completely by accident. I had invited friends over for dinner and realized halfway through prep that my guest was dairy-free. The Thai market down the street became my savior, and that impromptu dessert ended up being the most requested recipe of the entire summer.
Last summer my niece begged me to make it for her birthday party instead of a traditional cake. Watching six kids go absolutely quiet while devouring coconut mango scoops was the kind of kitchen moment that keeps you experimenting long after the dishes are done.
Ingredients
- Full fat coconut milk: The cans in the international aisle are usually creamier and more consistent than boxed versions
- Coconut cream: This is what creates that luxurious mouthfeel, so do not skimp or substitute
- Granulated sugar: Coconut milk needs sweetness to balance its natural slight bitterness
- Fine sea salt: A tiny pinch wakes up all the coconut flavors
- Pure vanilla extract: Use the good stuff here because there are few ingredients to hide behind
- Toasted coconut flakes: These add incredible texture and intensify the coconut flavor
Instructions
- Mix your base:
- Combine the coconut milk, coconut cream, sugar, and salt in a medium saucepan over medium heat, stirring until the sugar dissolves completely
- Add the vanilla:
- Remove from heat and stir in the vanilla extract, then let the mixture cool completely before refrigerating
- Chill thoroughly:
- Refrigerate for at least 2 hours because warm base means icy, gritty ice cream
- Churn until creamy:
- Process in your ice cream maker according to manufacturer instructions until it reaches soft serve consistency
- Fold in the extras:
- Gently stir in any mix ins during the last minute of churning
- Freeze until firm:
- Transfer to a freezer safe container and freeze for at least 2 hours before serving
 Pin it
 My neighbor who swore she hated coconut ice cream tried this at a block party and asked for the recipe before she even finished her bowl. The difference between this and store bought versions is that the coconut flavor actually tastes real.
Getting The Creamiest Texture
The secret is shaking those coconut cans before opening them. The thick cream rises to the top during storage, and if you do not incorporate it back into the milk, your ice cream will have weird textural patches.
Serving Ideas That Transform It
A drizzle of sweetened condensed milk over the top takes this from great to absolutely unforgettable. My other favorite addition is a handful of chopped roasted peanuts right before serving for that Thai street dessert vibe.
Making It Your Own
This base is incredibly forgiving and adapts well to whatever flavors you are craving. Pandan extract gives it an authentic Thai flavor that is hard to find outside specialty markets.
- Try swapping half the sugar for maple syrup for a caramel undertone
- A splash of rum in the base keeps it softer in the freezer
- Lime zest brightens everything beautifully if you find it too rich
 Pin it
 There is something magical about pulling a homemade dessert from the freezer that tastes like a memory from a trip you have not taken yet.
Recipe FAQs
- → Is this dairy-free?
-
Yes, this frozen dessert is completely dairy-free, using only coconut milk and coconut cream as the base. Perfect for those avoiding dairy products.
- → Can I make this without an ice cream maker?
-
Absolutely. Pour the chilled mixture into a shallow freezer-safe dish and freeze, stirring every 30 minutes for about 3 hours until reaching desired consistency.
- → How long does it need to freeze?
-
After churning, transfer to a freezer-safe container and freeze for at least 2 hours until firm. For best results, let sit at room temperature for 5-10 minutes before scooping.
- → What mix-ins work well?
-
Toasted coconut flakes, roasted chopped peanuts, and diced ripe mango are excellent choices. Add them during the last minute of churning for even distribution throughout.
- → How should I store leftovers?
-
Keep in an airtight freezer-safe container for up to 2 weeks. Allow to soften slightly at room temperature before serving for the best scooping experience.
- → Can I reduce the sugar?
-
You can reduce sugar slightly, but keep in mind that sugar helps prevent ice crystals from forming and contributes to smoother texture. Alternative sweeteners may affect freezing consistency.